

Vector tracing is the process of converting a bitmap image — a logo scan, a photo, or a low-resolution graphic — into scalable vector paths made of editable nodes and curves. The two main routes to get there are automated trace tools, which do the conversion algorithmically in seconds, and manual node editing, where you draw or refine paths by hand for full control over shape and detail. Knowing which route to use, and when to combine both, is the difference between a clean, print-ready file and a messy one full of stray nodes and jagged curves.
If you design logos, packaging, signage, or any artwork that needs to scale from a business card to a billboard, understanding vector tracing properly will save you hours of rework. This guide walks through both approaches, shows where each one breaks down, and gives you a practical workflow for getting consistently clean results.
What Is Vector Tracing and Why It Matters
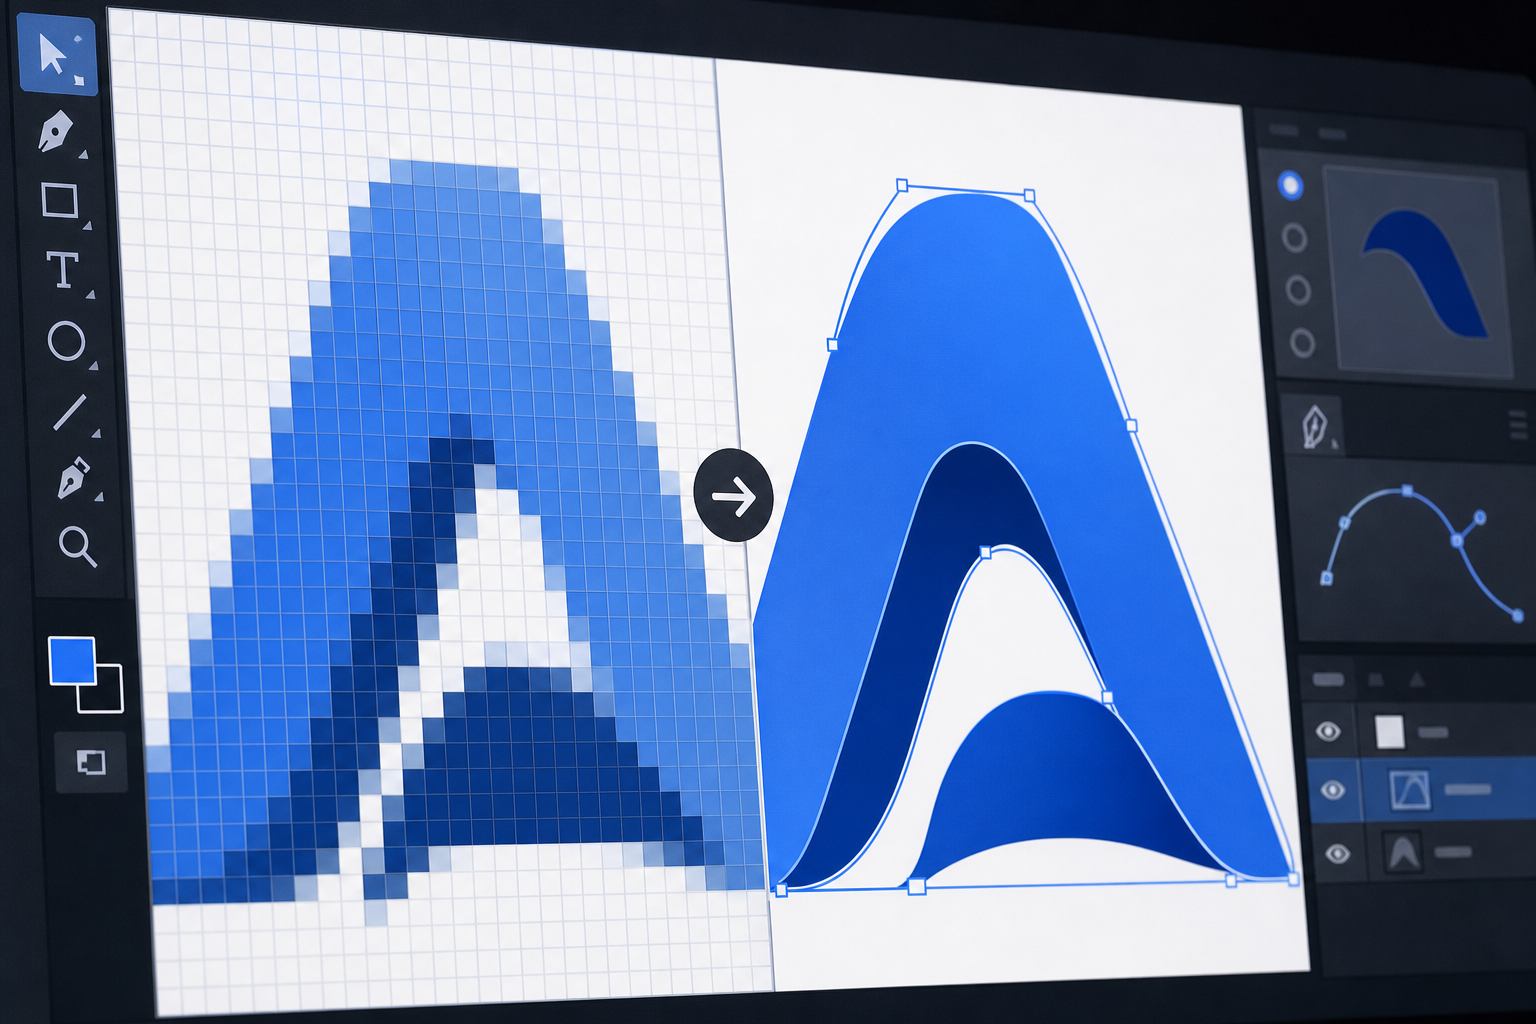
Vector tracing converts pixel-based artwork into mathematically defined paths that scale to any size without losing quality. Unlike a raster image, which becomes blurry or pixelated when enlarged, a traced vector file stays crisp whether it’s printed on a pen or a billboard.
This matters most for designers working with client-supplied logos that only exist as low-resolution JPEGs or screenshots, scanned hand-drawn artwork that needs to become print-ready, and old branding assets that were never saved in an editable format. In every one of these cases, vector tracing is the bridge between “unusable” and “production ready.”
Automated Vector Tracing Tools: How They Work
Automated trace tools analyse a bitmap’s colour boundaries and contrast, then generate vector paths automatically, usually in under a minute. Tools like Corel’s PowerTRACE (built into CorelDRAW) and similar auto-trace engines in other vector applications scan pixel clusters and build outlines around areas of similar colour or tone.
Where Automated Vector Tracing Excels
- Simple logos with flat colours and clean edges
- Line art and black-and-white sketches
- High-contrast images where object edges are well defined
- Batch processing dozens of similar images quickly
PowerTRACE, for example, lets you choose from presets such as Line Art, Logo, Detailed Logo, Clipart, Low Quality Image, and High Quality Image, then gives you sliders for detail, smoothness, and colour count before committing to the trace, as detailed in Corel’s official PowerTRACE tutorial. This preset-driven approach is what makes automated vector tracing so fast for straightforward source material.
Where Automated Tools Struggle
Automated vector tracing tends to fall apart on complex photographs, gradients, low-contrast edges, and images with noise or compression artefacts. The algorithm can’t tell the difference between an intentional detail and a JPEG artefact, so it often generates excess nodes, jagged curves, or merges shapes that should stay separate. The result technically is a vector, but it’s rarely clean enough to hand to a printer or sign shop without further work.
Manual Node Editing: Full Control Over Every Curve
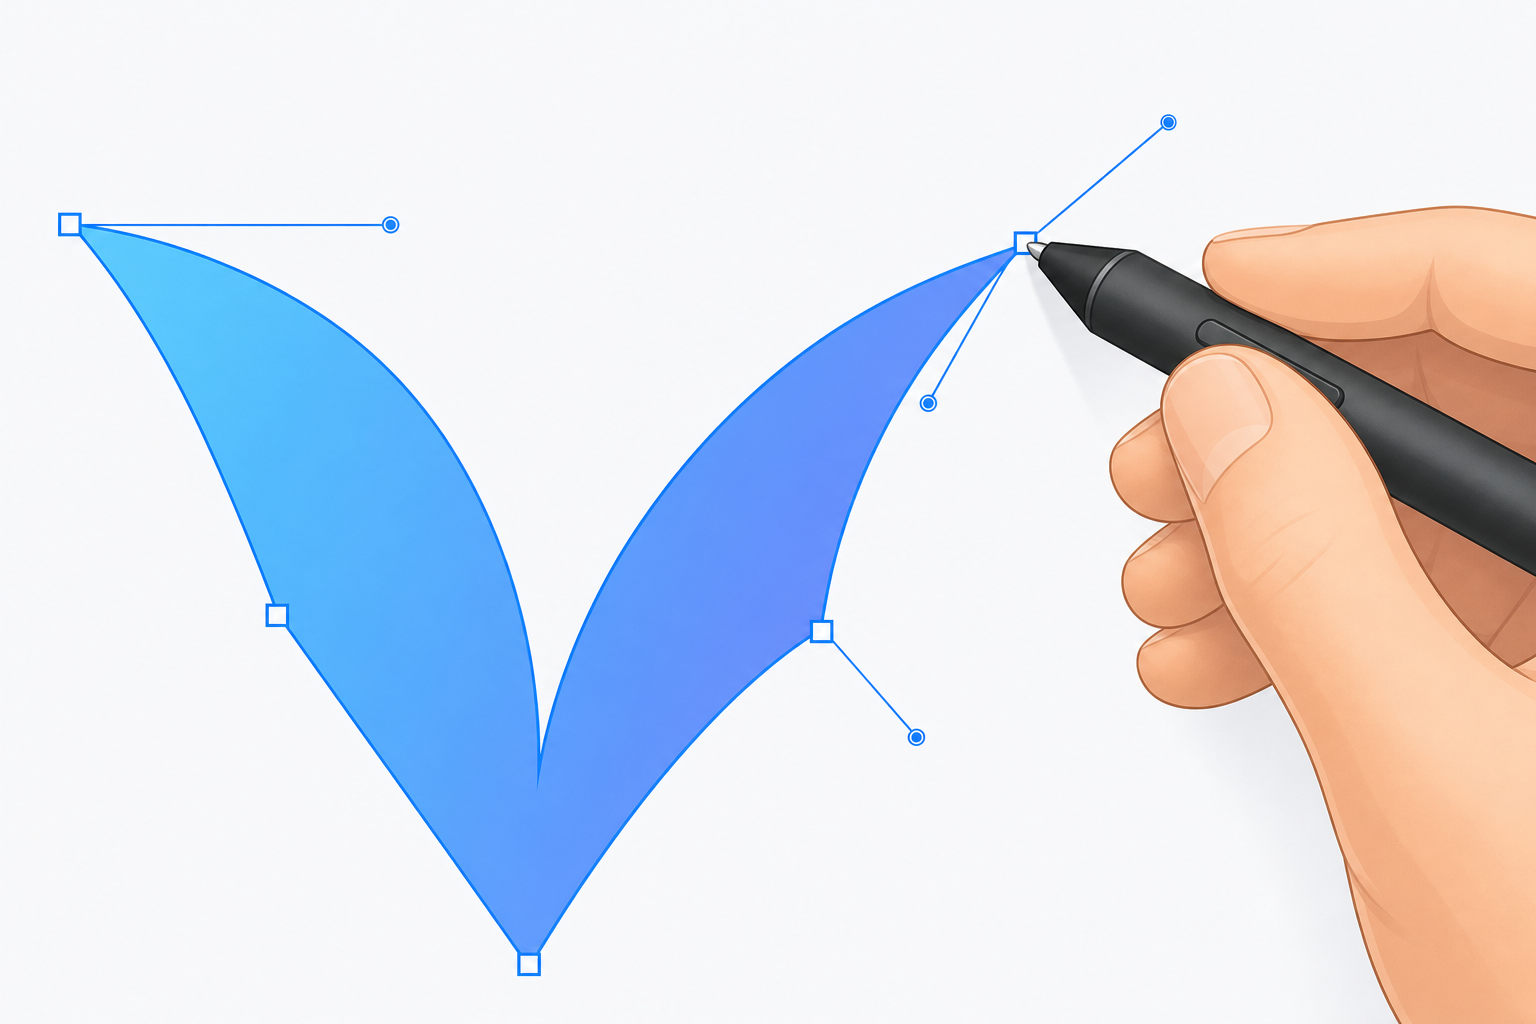
Manual node editing means drawing paths yourself with the pen or Bezier tool and adjusting each node and curve handle individually. It takes longer than automated vector tracing, but it produces the cleanest, most efficient files because every point exists for a reason.
When Manual Editing Delivers Cleaner Results
- Complex logos with fine detail that auto-trace tends to oversimplify or distort
- Artwork destined for engraving, vinyl cutting, or embroidery, where extra nodes cause real production problems
- Rebuilding a brand mark from a low-resolution source where precision matters more than speed
- Any file where node count and path smoothness directly affect file size or machine output
Skilled designers often use auto-trace as a rough first pass, then manually clean up the result — deleting redundant nodes, smoothing curves, and rebuilding problem sections by hand. This hybrid approach is standard practice in professional workflows and usually beats either method used alone.
The Trade-Off: Speed vs Precision
Manual node editing costs time. A simple auto-trace might take 30 seconds; manually rebuilding the same logo cleanly can take 20-40 minutes depending on complexity. That time investment pays off in output quality, smaller file sizes, and fewer surprises when the file reaches a printer, cutter, or embroidery machine.
Choosing the Right Vector Tracing Approach for Your Project
The right approach for vector tracing depends on source quality, output destination, and how much control the job demands. Use this quick decision framework:
- Clean, simple, high-contrast source: automated trace is usually sufficient on its own.
- Complex logo or detailed illustration: auto-trace as a starting point, then manual clean-up.
- Output for cutting, engraving, or embroidery: manual node editing, or heavy manual correction after tracing.
- Large batch of similar simple images: automated tools save significant time with acceptable quality.
- Brand-critical logo rebuild: manual tracing from scratch for pixel-perfect accuracy.
Matching the method to the job — rather than defaulting to one tool every time — is the single biggest factor in getting consistently clean vector tracing results.
Step-by-Step: A Practical Vector Tracing Workflow
A dependable vector tracing workflow combines both techniques in sequence rather than treating them as competing options.
1. Prepare the Source Image
Increase contrast, crop tightly, and remove background noise before tracing. A cleaner source image dramatically improves automated trace results and reduces manual clean-up time later.
2. Run an Initial Automated Trace
Use a preset close to your source type (logo, line art, or detailed image) and adjust the node/smoothing sliders until the shapes read correctly at a glance. Don’t chase perfection here — this pass is a foundation, not the final file.
3. Review Node Count and Path Quality
Zoom in on curves and corners. Excess nodes, jagged edges, or merged colour areas are the signals that manual correction is needed next.
4. Manually Refine Problem Areas
Use the pen and shape tools to delete redundant nodes, smooth curves, and rebuild any section the auto-trace handled poorly. Focus manual effort only where it’s needed rather than redrawing the entire file.
5. Check Colours and Export
Confirm the final colour palette matches brand or print specifications (CMYK for print, RGB for screen), then export to the format your next step requires — EPS, SVG, AI, or CDR.
Which Software Handles Vector Tracing Best?
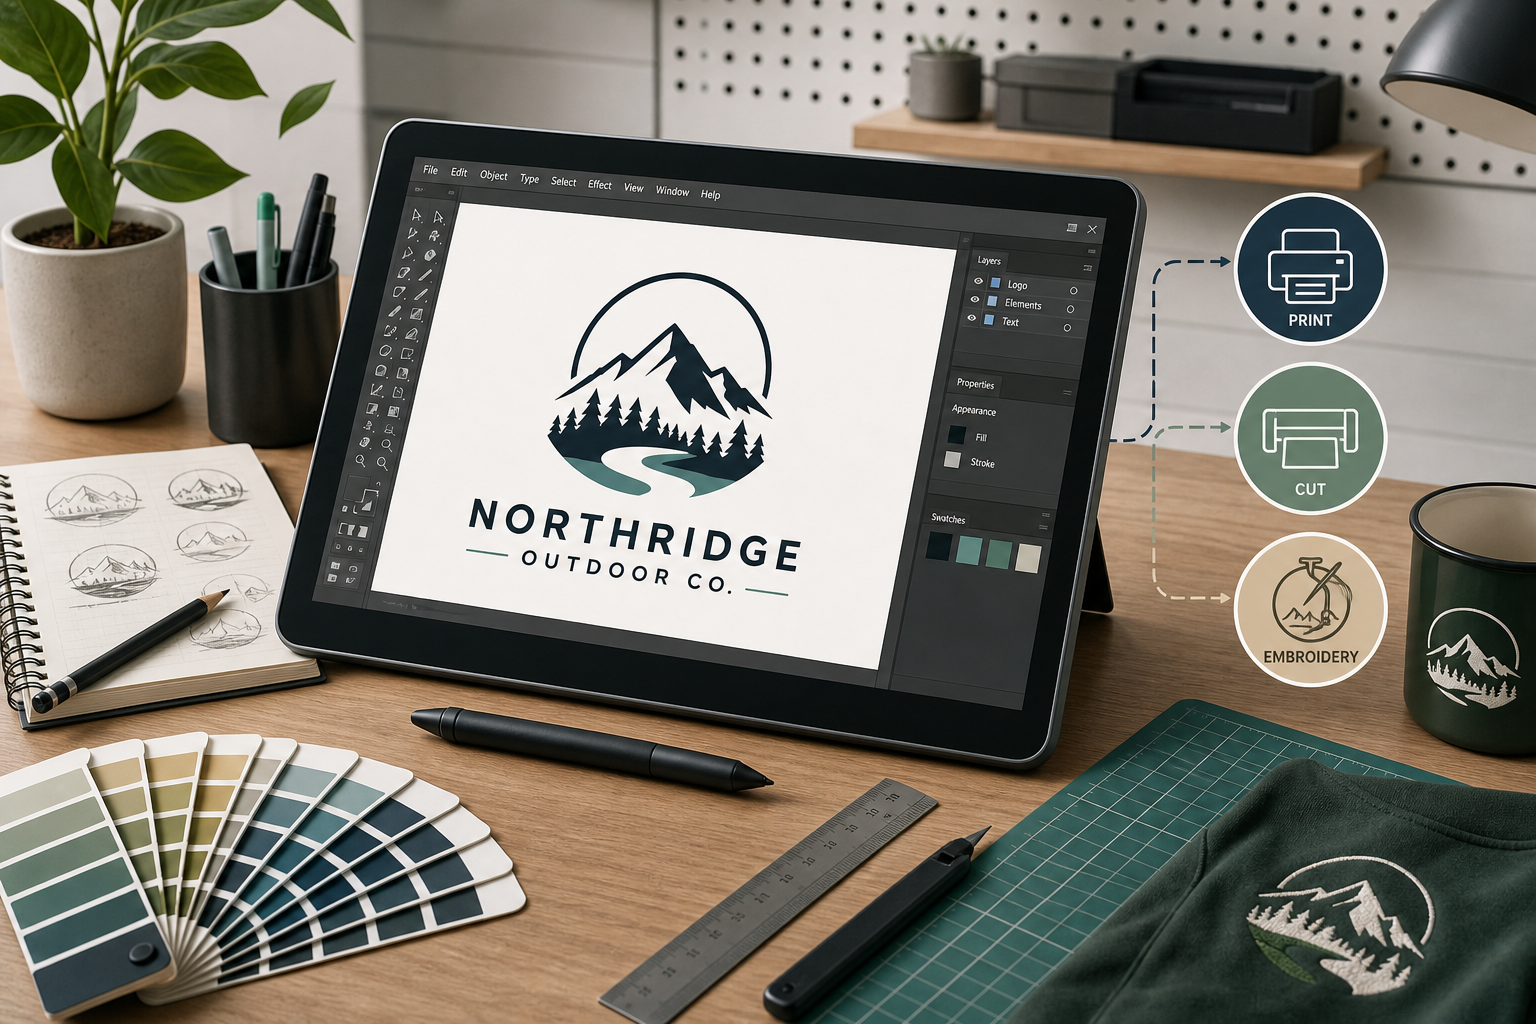
CorelDRAW’s PowerTRACE is one of the most established tools for this workflow, offering both fast automated presets and full manual node editing in the same application, so designers aren’t switching software between the trace and clean-up stages. That combination — one program covering both the automated and manual side of vector tracing — is a major reason it remains a standard tool in sign shops, print studios, and embroidery businesses.
Designers who already work in CorelDRAW can trace, edit nodes, and prep files for print or cutting without leaving the application. For teams standardising their toolkit, the CorelDRAW Graphics Suite 2024 for MAC and equivalent Windows editions include PowerTRACE alongside the full illustration and layout toolset needed for the rest of a production workflow.
Common Vector Tracing Mistakes to Avoid
- Over-tracing detail: setting detail sliders too high on photographic sources creates thousands of unnecessary nodes.
- Skipping the review step: exporting an auto-trace without checking node count or curve quality first.
- Ignoring colour mode: tracing in RGB when the final output needs CMYK, causing colour shifts at print.
- Tracing low-resolution source without cleanup: compression artefacts get baked into the vector paths as false detail.
- Manually redrawing everything: ignoring a perfectly good auto-trace starting point and wasting time rebuilding shapes that were already clean.
Avoiding these mistakes is largely about slowing down at the review stage — the few minutes spent checking a trace before moving on save far more time than they cost.
FAQ
How to download CorelDRAW for vector tracing?
After purchasing a license key from Shop Key Online, you’ll receive an email with the official download link and your activation key, usually within a few minutes. Follow the link to download the installer directly from Corel’s official servers, then run it before entering your key.
How to install CorelDRAW after downloading?
Run the downloaded installer, accept the license agreement, and choose your installation folder. The setup wizard installs the full Graphics Suite, including PowerTRACE, automatically as part of the standard installation — no separate download is needed for tracing tools.
How to activate CorelDRAW once installed?
Open the application and select “Enter a serial number” when prompted, then paste the activation key from your order email. The software verifies the key online and unlocks automatically; if you hit any issues, Shop Key Online’s support team can verify the key and issue a replacement if needed.
How do I trace a bitmap into a vector in CorelDRAW?
Import the bitmap, select it, and click Trace Bitmap on the property bar to open PowerTRACE. Choose a preset matching your source (Logo, Line Art, or Detailed Image), adjust the detail and smoothing sliders, then click OK to generate editable vector paths.
Why does my traced vector have too many nodes?
This usually happens when the detail slider is set too high for a noisy or low-resolution source image. Lower the detail setting, increase smoothing, or clean up the source image’s contrast before retracing for a more efficient result.
Can I edit a traced image after vector tracing?
Yes — once a bitmap is traced, the output is a fully editable vector object made of standard nodes and curves. You can select individual nodes with the Shape tool and adjust, delete, or add points exactly as you would with any hand-drawn path.
Is manual tracing always better than automated tools?
No — manual tracing gives more control but takes significantly longer, so it’s only worth it for complex or production-critical artwork. For simple, high-contrast logos, automated vector tracing tools usually deliver a clean result in a fraction of the time.
Vector tracing isn’t a single button to press — it’s a decision between speed and precision that changes with every source file. Automated tools handle the easy 80% of cases quickly, while manual node editing is what separates a usable file from a production-ready one when the artwork gets complicated. Learning to recognise which situation you’re in, and combining both techniques when needed, is what makes vector tracing reliable rather than a gamble.
