
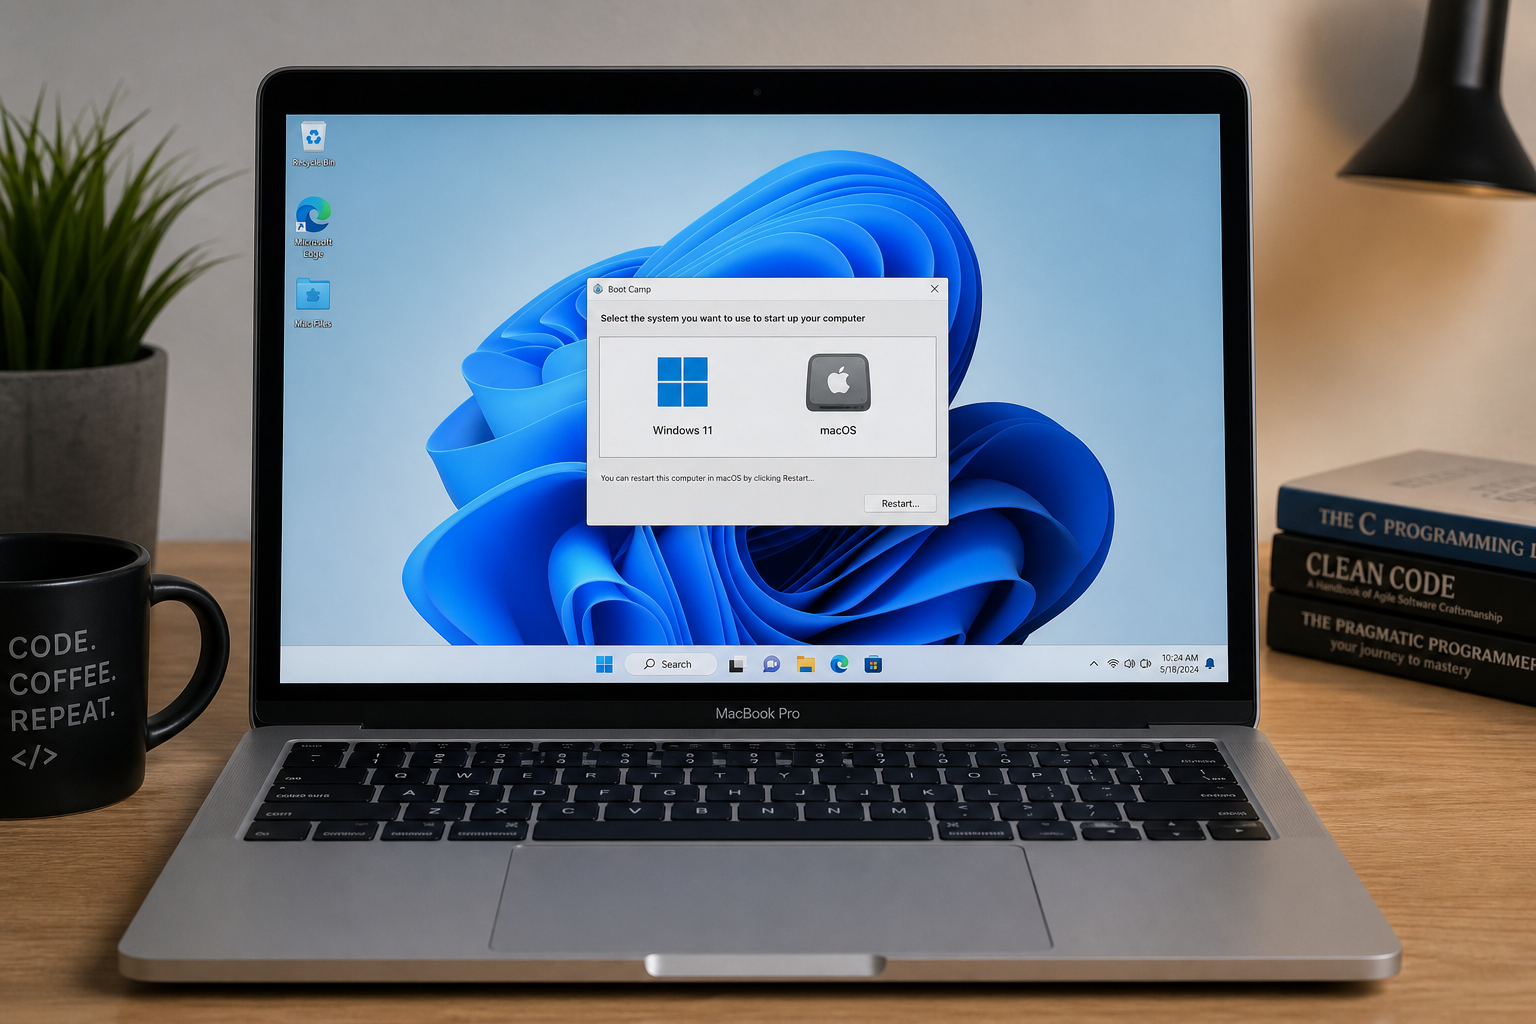
Getting Windows 11 on an Intel Mac via Boot Camp is entirely achievable — even though Apple officially stopped supporting Windows 11 through Boot Camp Assistant. Intel-based Macs can still run Windows 11 natively as a dual-boot alongside macOS, and the process, while a little involved, is well within reach of any technically confident user. This guide walks you through every step, from checking compatibility to activating your licence.
Is Windows 11 on Mac Officially Supported by Apple?

No — Apple’s Boot Camp Assistant officially supports only Windows 10 on Intel Macs, as confirmed by Apple’s Boot Camp Assistant User Guide. Windows 11 carries hardware requirements — specifically TPM 2.0 and Secure Boot — that Intel Macs do not meet out of the box. However, Microsoft provides an official workaround that allows Windows 11 to install on hardware that doesn’t meet these checks, and the community has refined this process extensively. With the right approach, your Intel Mac can run a stable, fully functional Windows 11 installation.
Prerequisites for Running Windows 11 on Mac with Boot Camp
Before beginning your Windows 11 Intel Mac dual-boot setup, gather the following:
-
An Intel-based Mac — MacBook Air, MacBook Pro, Mac mini, iMac, or Mac Pro models with an Intel processor (not Apple Silicon). Boot Camp is not available on M1/M2/M3/M4 Macs.
-
macOS Catalina, Big Sur, Monterey, or Ventura — Boot Camp Assistant is bundled with these versions in Applications > Utilities.
-
At least 64 GB of free disk space — Apple recommends a minimum 64 GB Boot Camp partition; 128 GB or more is strongly advised for comfortable day-to-day Windows use.
-
8 GB RAM minimum — Windows 11 officially requires 4 GB, but performance under Boot Camp is noticeably better with 8 GB or more.
-
A USB flash drive (16 GB+) — needed only if your Mac model requires one for Boot Camp support software. Newer Macs can download support software directly.
-
A Windows 11 ISO — downloaded from Microsoft’s official site, or prepared via the Rufus tool (more on this below).
-
A valid Windows 11 licence key — required to activate Windows after installation. You can pick up an affordable genuine key from ShopKeyOnline before you start.
-
A stable internet connection — for downloading drivers, support software, and Windows updates post-install.
Step 1: Download the Windows 11 ISO for Your Boot Camp Install

Head to Microsoft’s website and download the Windows 11 ISO (64-bit). The ISO is a large file — typically around 5–6 GB — so allow enough time on a fast connection. Save it somewhere easy to find, such as your Desktop or Downloads folder.
If you plan to use the Boot Camp install route via Boot Camp Assistant directly, you’ll use this ISO as-is. If you opt for the Rufus method (recommended for bypassing TPM checks), you’ll process the ISO through Rufus on a Windows PC first — or use a workaround on macOS.
Method A: Windows 11 Intel Mac Setup via Windows 10 Upgrade
This is the most reliable Mac dual boot Windows method for the majority of Intel Mac owners, and it is the approach most widely recommended in the community.
Part 1 — Set Up the Boot Camp Partition
-
Open Boot Camp Assistant (Applications > Utilities).
-
Download a Windows 10 ISO from Microsoft’s site and point Boot Camp Assistant to it.
-
Set your partition size. A minimum of 64 GB is workable; 128 GB gives you real breathing room. Click Install and let Boot Camp Assistant partition your drive and copy the Windows files. Your Mac will restart into the Windows installer automatically.
-
Complete the Windows 10 installation — language, region, keyboard layout, and user account setup. Skip the product key prompt if you intend to activate later.
-
Once at the Windows 10 desktop, let Boot Camp’s support software installer run. This installs Apple hardware drivers — trackpad, keyboard, Wi-Fi, audio, Bluetooth — all of which you need working before upgrading.
Part 2 — Configure Windows 10 Before Upgrading
-
Run Windows Update fully. Install every available update, restarting as required. A fully updated Windows 10 installation transitions more smoothly to Windows 11.
-
Install your Windows 10 licence key (or leave it unactivated if you plan to activate Windows 11 directly).
-
Download and install the latest Boot Camp support software from Apple if any drivers are still missing — particularly Wi-Fi and Bluetooth, which you’ll need for the Windows 11 upgrade.
Part 3 — Upgrade Your Mac Dual Boot Windows 10 Install to Windows 11
-
Open the Microsoft PC Health Check app in Windows 10. It will flag TPM 2.0 and Secure Boot as unsupported — that’s expected on an Intel Mac.
-
To bypass these checks, open the Registry Editor (press Win + R, type
regedit, press Enter) and navigate toHKEY_LOCAL_MACHINE\SYSTEM\Setup\MoSetup. Create a new DWORD (32-bit) value named AllowUpgradesWithUnsupportedTPMOrCPU and set it to 1. This is Microsoft’s own documented bypass. -
Download and run the Windows 11 Installation Assistant from Microsoft’s website. It will now proceed with the upgrade despite the hardware flags.
-
The upgrade downloads Windows 11, applies it over your existing Windows 10 installation, and restarts several times. The full process typically takes 30–60 minutes depending on your internet speed and SSD performance.
-
Once at the Windows 11 desktop, run Windows Update again to pull in any remaining patches.
Method B: Direct Boot Camp Install Using a Modified ISO

For users comfortable with a slightly more technical approach, you can perform a Boot Camp install of Windows 11 directly — skipping Windows 10 entirely — by using Rufus to create a modified ISO that has the TPM 2.0 and Secure Boot checks removed.
-
On a Windows PC (or a Windows environment), download Rufus (a free, open-source tool). Insert your USB drive and select your Windows 11 ISO in Rufus.
-
When prompted, choose Extended Windows 11 Installation (no TPM/no Secure Boot). This patches the ISO to skip hardware requirement checks.
-
Write the ISO to your USB drive.
-
On your Mac, open Boot Camp Assistant and proceed as normal, pointing it to the modified ISO. Complete the partition setup.
-
Follow the on-screen Windows 11 installer — it will no longer reject your Mac hardware.
-
After installation, install Boot Camp support software drivers as prompted.
Note: if you don’t have a Windows PC to run Rufus, Method A (Windows 10 first, then upgrade) is simpler and equally reliable.
Activating Windows 11 on Your Intel Mac
Whichever installation route you take, you’ll need a valid licence to activate Windows 11 Intel Mac properly. An unactivated copy limits personalisation options and displays a watermark. A Windows 11 Pro OEM key from ShopKeyOnline is a cost-effective way to get a genuine licence — starting from €15.95 — and activation takes just seconds once you’re at the Windows 11 desktop.
If you’re looking to run productivity apps alongside Windows, the Windows 11 Pro + Office 2021 bundle gives you both for €36.90 — great value if you need Word, Excel, and PowerPoint on your Mac’s Windows partition.
To activate: go to Settings > System > Activation, click Change product key, and enter your key. Windows connects to Microsoft’s servers and activates within seconds.
Common Issues and Troubleshooting Tips
Even with a clean Boot Camp Windows 11 setup, a few snags come up regularly. Here’s how to handle the most common ones:
Wi-Fi Not Working After Your Boot Camp Install
This is the most frequently reported issue. Your Mac’s Broadcom Wi-Fi card requires a specific driver that Boot Camp Assistant should install automatically. If it doesn’t, download the Boot Camp support software manually from Apple’s support site using a different device, copy it to a USB drive, and install it on your Windows partition. Once the Broadcom driver is in place, Wi-Fi works reliably.
Trackpad Feels Unresponsive or Jerky
Apple’s Boot Camp drivers deliver a workable trackpad experience, but it won’t match macOS. After installing Boot Camp support software, open the Apple Boot Camp control panel in the Windows system tray and adjust trackpad sensitivity. Third-party drivers like Mac Trackpad++ can improve multi-touch gesture support further.
Windows 11 Won’t Boot After Your Boot Camp Install
If your Mac boots straight back into macOS after installation, hold the Option (⌥) key at startup to bring up the boot picker. Select the BOOTCAMP partition. To make Windows your default boot option, go to System Preferences > Startup Disk (on macOS) or use the Boot Camp control panel from within Windows.
Audio Not Working
Ensure the Cirrus Logic audio driver is installed — it ships as part of the Boot Camp support software package. If audio still fails, check Device Manager for any yellow exclamation marks on audio devices and update drivers manually from the Boot Camp support software folder.
Windows 11 Showing as Not Activated After Upgrade
If you upgraded from an activated Windows 10, your digital licence may carry over automatically. If not, you’ll need to enter a dedicated Windows 11 key. Check our post on upgrading incompatible hardware to Windows 11 for additional activation strategies that apply here too.
TPM-Related Warnings in Windows 11 Settings
After bypassing the TPM check, Windows 11 may flag your device as not meeting system requirements under Settings > System > About. This is cosmetic — it doesn’t affect functionality, updates, or security features on Intel Macs. Microsoft has committed to continuing updates for systems installed via the documented bypass, though this could change in future major releases. If TPM requirements concern you, read our deep-dive on Microsoft’s TPM enforcement plans for 2026.
Performance: What to Expect From Mac Dual Boot Windows
Running Windows 11 natively via Boot Camp on an Intel Mac typically delivers excellent performance — far better than running Windows inside a virtual machine, because Boot Camp gives Windows direct access to all hardware resources. On a 2019 or 2020 MacBook Pro with a quad-core Intel Core i5 or i7 and 16 GB RAM, Windows 11 runs smoothly for everyday tasks, creative software, and even moderate gaming. The biggest limitation is thermals: Apple’s cooling system is optimised for macOS, and sustained CPU-intensive workloads in Windows can cause higher fan speeds. This is normal and not harmful to the machine.
Storage performance is also strong on Macs with NVMe SSDs. Boot times from cold start to the Windows 11 desktop are typically under 20 seconds on a 2018-or-later MacBook Pro.
Switching Between macOS and Windows 11 on Mac
Once your Boot Camp install is complete, switching between operating systems is simple. Restart your Mac and hold the Option (⌥) key to choose which OS to boot. Alternatively, from within macOS, go to System Preferences > Startup Disk and select Windows, then restart. From Windows, use the Boot Camp control panel in the system tray and click Restart in macOS.
FAQ: Windows 11 Boot Camp on Intel Mac
Will Windows 11 receive updates on an Intel Mac installed via Boot Camp?
Yes — Windows 11 installed using the documented TPM bypass method continues to receive Windows Update patches, including security and feature updates. Microsoft has not blocked updates for systems installed via this route, though it is worth monitoring Microsoft’s announcements for any policy changes ahead of Windows 11 major version updates.
Can I use Boot Camp on an Apple Silicon Mac (M1/M2/M3/M4)?
No. Boot Camp is exclusively available on Intel-based Macs. Apple Silicon Macs use a completely different architecture (ARM), and Boot Camp was discontinued for those machines. If you have an Apple Silicon Mac, you’ll need a virtualisation tool such as Parallels Desktop to run Windows 11 (via the ARM edition).
Do I lose my macOS data when I install Boot Camp?
No. Boot Camp partitions your drive, allocating a separate section for Windows without touching your macOS data. However, as with any major disk operation, backing up your Mac with Time Machine before starting is strongly recommended.
How much disk space should I give the Boot Camp partition?
Windows 11 itself needs around 30 GB, but with drivers, updates, and applications you’ll quickly fill that. Allocate at least 64 GB; 128 GB is comfortable for most users. Note that you cannot easily resize the partition after creation without third-party tools, so plan generously from the start.
Can I run Windows 11 on a Mac with only 8 GB of RAM?
Yes — Windows 11 runs on 8 GB RAM, and many Intel Mac owners report acceptable day-to-day performance at this level. For demanding tasks like video editing, 3D rendering, or running multiple applications simultaneously, 16 GB makes a significant difference. Fortunately, most Mac models with 8 GB also have 16 GB upgrade options available.
