
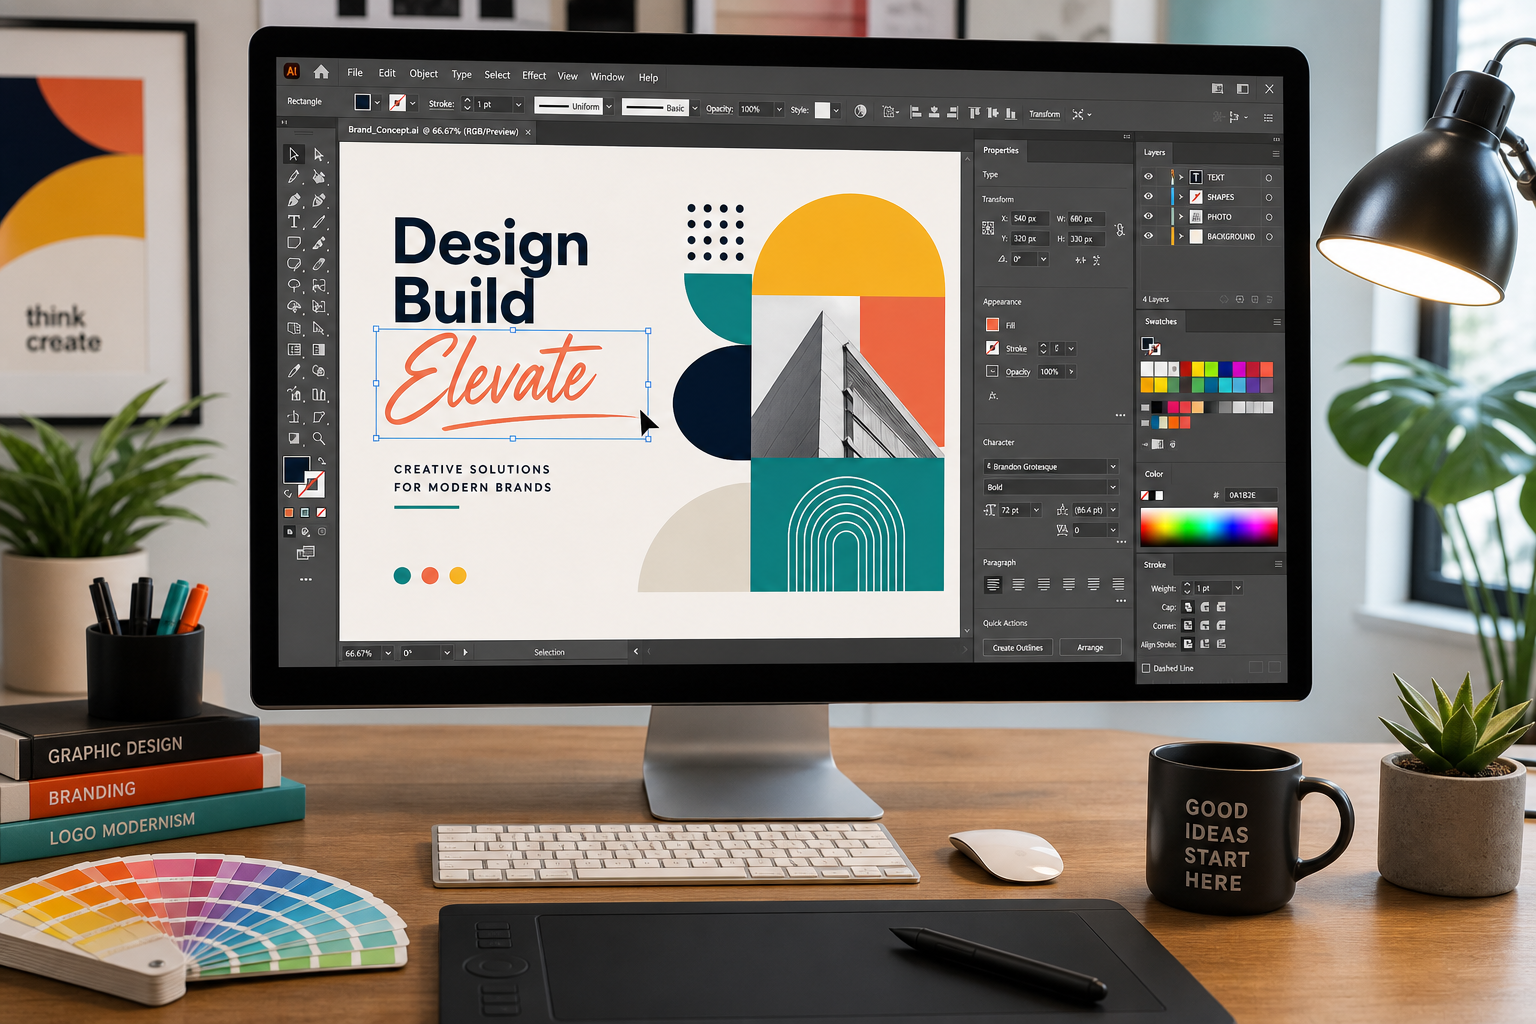
This CorelDRAW tutorial for beginners walks you through the interface, the essential shape and text tools, and a complete first project so you can go from a blank canvas to a finished design in one sitting. Instead of scattered tips, you’ll follow one clear path: learn where things are, practice the core tools, then apply them to a real layout.
CorelDRAW has a reputation for being powerful but a little intimidating on first launch, with toolbars, docked panels, and menus that don’t look like anything in a typical office app. The good news is that the core workflow is simple once you know where to look. This guide breaks it into three stages: getting comfortable with the workspace, practicing the basic tools, and finishing one small design project so the skills actually stick.
Getting to Know the CorelDRAW Interface
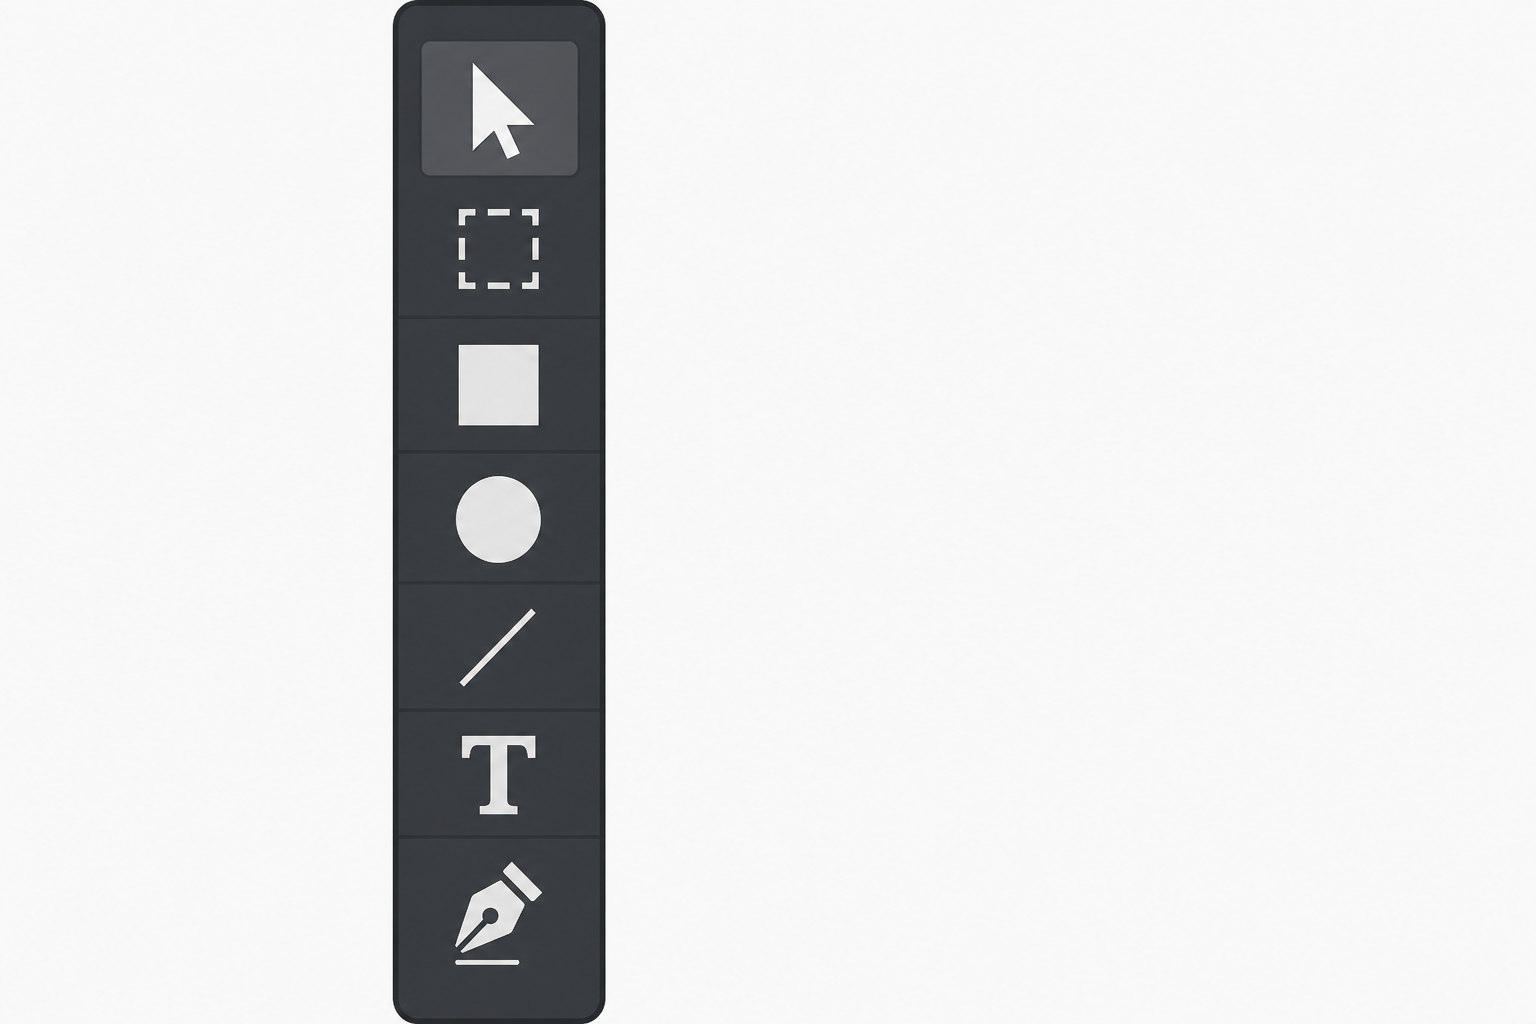
The CorelDRAW interface is organized around a few fixed areas: the toolbox on the left, the property bar at the top, the color palette on the right, and the drawing page in the center. Understanding what lives where is the fastest way to stop feeling lost in your first session.
Exploring the CorelDRAW Interface: Main Workspace Areas
- Toolbox (left side): holds the Pick tool, shape tools, text tool, and drawing tools you’ll use constantly.
- Property bar (top): changes depending on what tool or object is selected, showing relevant options like corner radius or font size.
- Color palette (right side): click a swatch to fill an object, right-click to set its outline color.
- Document/drawing page: the white rectangle in the center representing your actual print or export area.
- Status bar (bottom): shows object details like size, position, and fill/outline info for whatever is selected.
Spend five minutes just clicking around these areas before touching a single tool. Select an object, watch the property bar change, and you’ll already understand half the interface logic.
Setting Up Your First Document
When you open CorelDRAW, you’re prompted to create a new document with a page size, unit of measurement, and color mode (CMYK for print, RGB for screen). For a first practice project, a simple A4 or Letter page in RGB is fine — you can always adjust this later for specific output needs.
Essential Shape Tools in This CorelDRAW Tutorial for Beginners
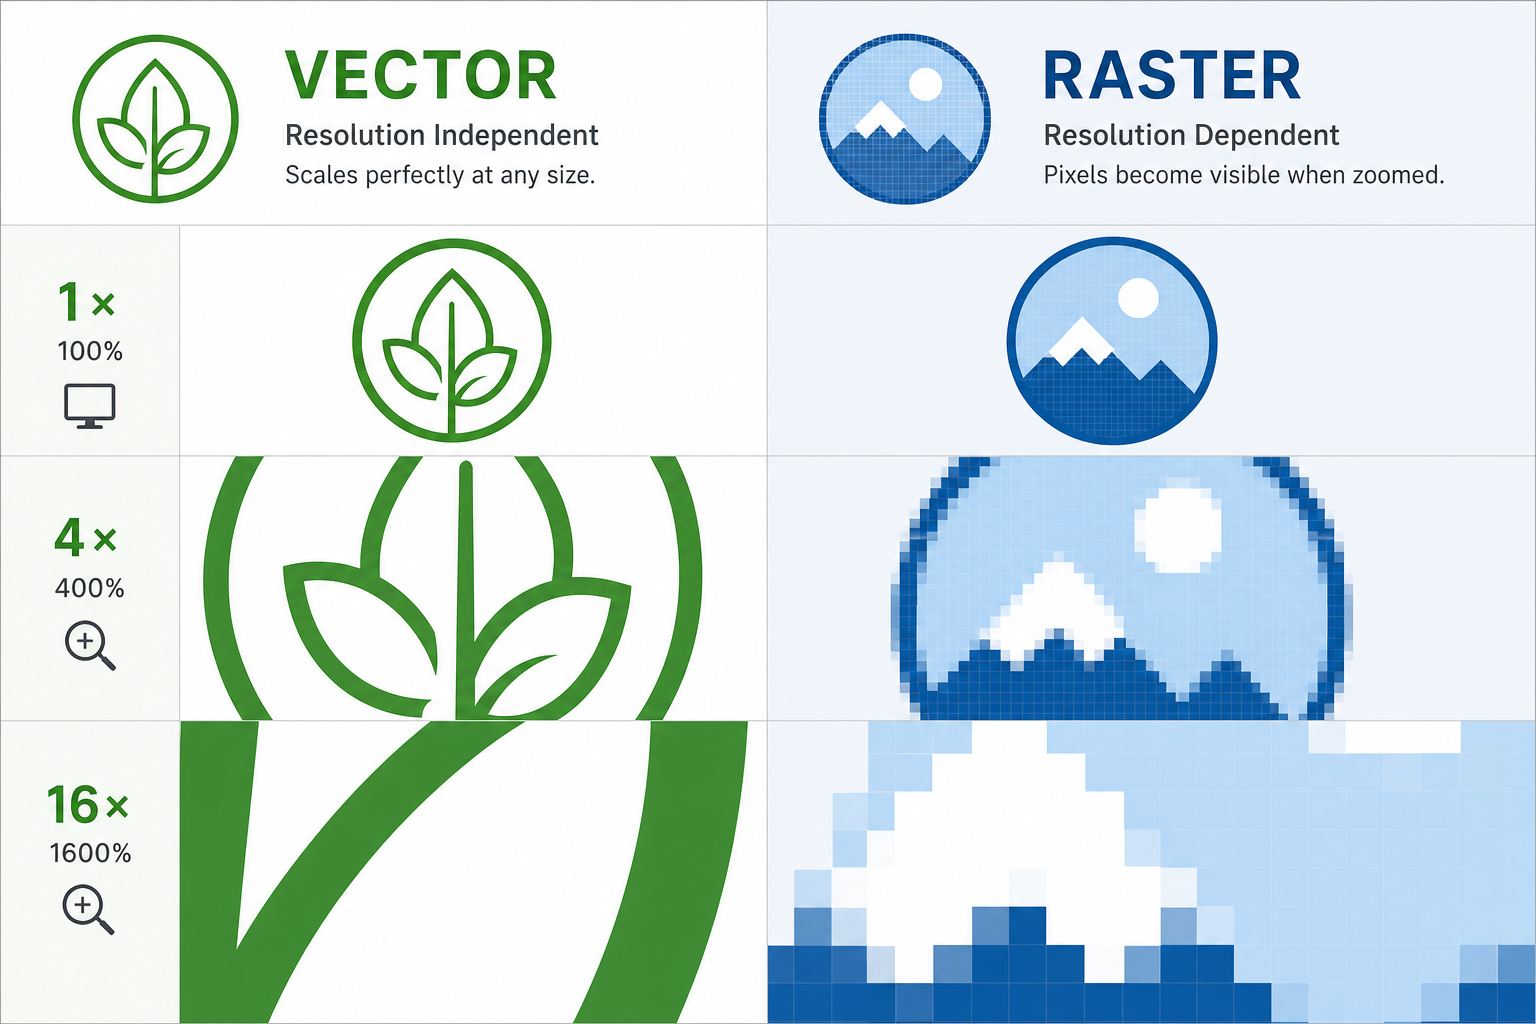
The shape tools are where most new users start, and mastering just four of them covers the majority of everyday design work. CorelDRAW’s shape tools are vector-based, meaning every rectangle, circle, or polygon you draw stays perfectly crisp no matter how much you scale it.
Rectangle, Ellipse, and Polygon Tools
- Rectangle tool (R): click-drag to draw rectangles and squares; hold Ctrl for a perfect square.
- Ellipse tool (E): click-drag for ellipses and circles; hold Ctrl for a perfect circle.
- Polygon tool (Y): creates polygons and stars, with the number of sides/points adjustable on the property bar.
Each shape you draw is a fully editable vector object. Grab the Shape tool (F10) afterward to round corners, adjust node positions, or reshape the outline entirely.
Working with the Pick Tool
The Pick tool (the black arrow, shortcut key is simply clicking it or pressing Space with another tool active) is what you’ll use to select, move, resize, and rotate objects. Click once to select, click again on a selected object to switch to rotate handles. This single tool accounts for a huge share of day-to-day CorelDRAW work, so getting fluent with it early pays off immediately.
Using the Text Tools: A Key Part of Any CorelDRAW Tutorial for Beginners
CorelDRAW gives you two distinct text types, and choosing the right one from the start avoids formatting headaches later. Artistic Text is for short standalone text like headlines or logos; Paragraph Text is for longer blocks that need to wrap and flow inside a frame.
Artistic Text vs Paragraph Text
- Artistic Text: click once with the Text tool (F8) and type — ideal for titles, labels, and logotypes that you’ll want to curve, warp, or apply effects to.
- Paragraph Text: click-drag to define a frame first, then type — ideal for body copy, descriptions, or anything that needs defined margins.
You can convert text to curves (Ctrl+Q) once a design is finished, turning letters into vector shapes. This is essential before sending files to a print shop that may not have the same font installed.
Completing Your First Design Project: A CorelDRAW Tutorial Milestone
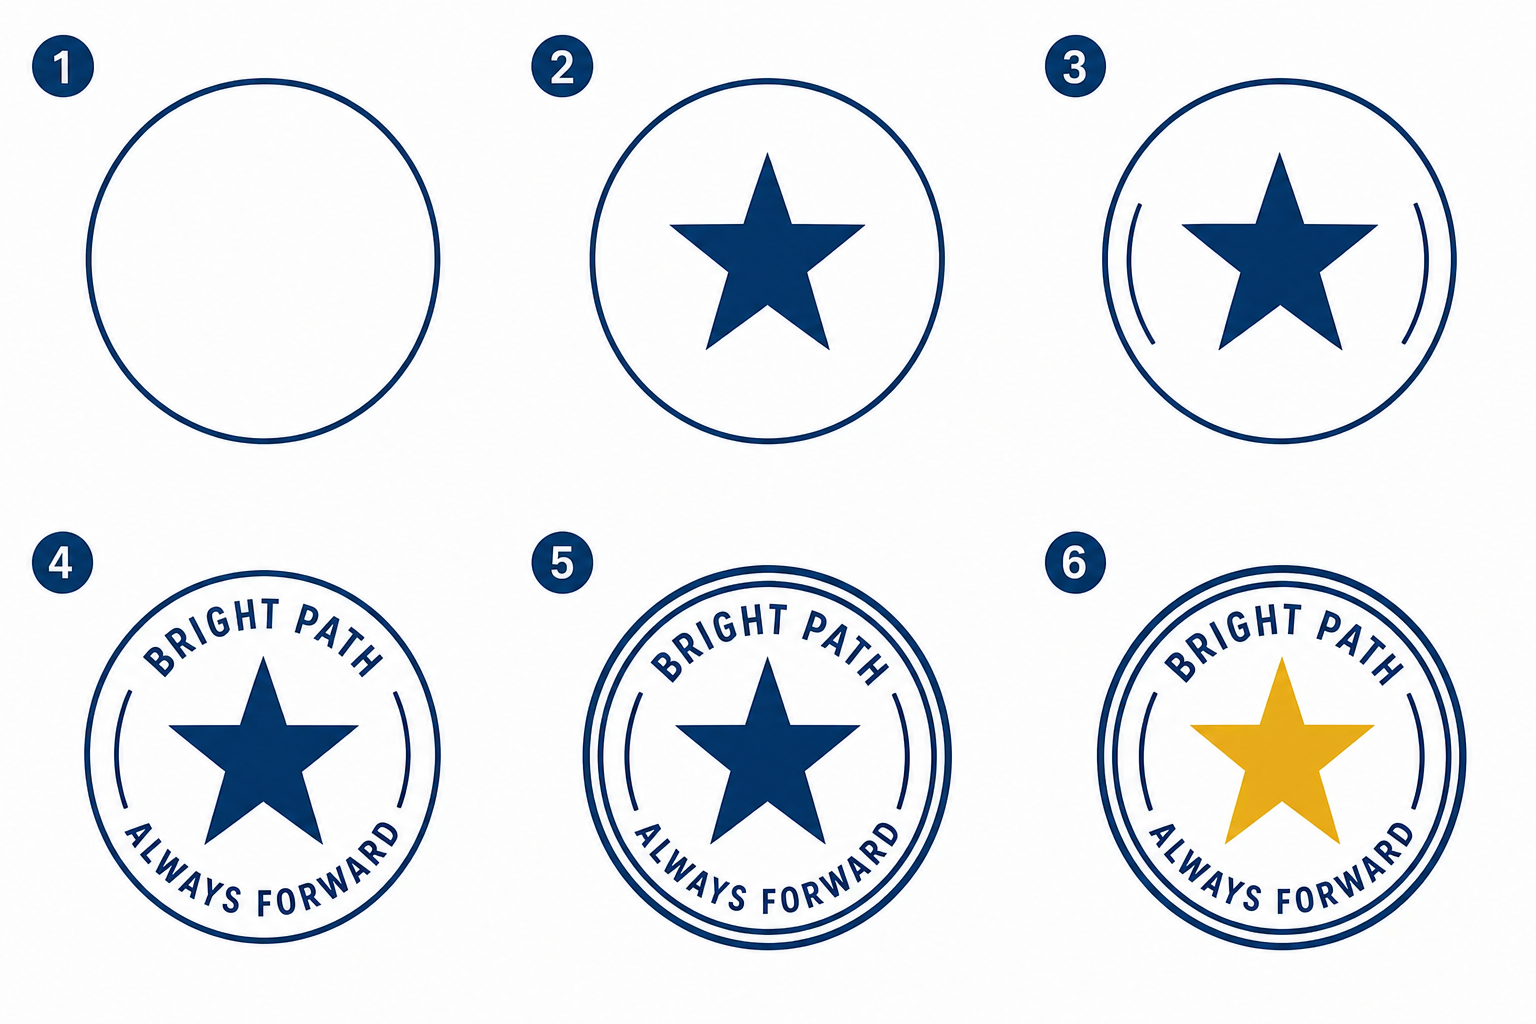
The fastest way to actually learn CorelDRAW is to finish one small, complete project rather than practicing tools in isolation. A simple badge-style logo or a social media graphic is a good first target because it uses shapes, text, color, and alignment in one compact piece.
Step-by-Step: Building a Simple Badge Design
- Create a new document and draw a circle with the Ellipse tool, holding Ctrl for a perfect circle.
- Apply a fill color from the palette, then add a contrasting outline using the Outline Pen settings.
- Use the Polygon tool to add a star or small decorative shape inside the circle.
- Add Artistic Text for your main word or initials, then use Text > Fit Text to Path to curve it along the top of the circle.
- Align everything using the Align and Distribute panel (Align Center Horizontally/Vertically) so the composition is centered.
- Group all objects together (Ctrl+G) so the badge moves and scales as one unit.
- Export the finished design via File > Export, choosing PNG for web use or PDF/EPS for print.
This single exercise touches almost every core skill covered earlier: shape drawing, text handling, color application, alignment, and exporting. Repeating a small project like this two or three times with different shapes and text builds real muscle memory faster than reading tool descriptions alone.
Common Beginner Mistakes to Avoid
- Forgetting to group objects before moving a finished design, which scatters elements accidentally.
- Using RGB color mode for a project destined for professional printing, leading to color shifts.
- Leaving text as editable type when exporting for a print vendor that doesn’t have the font.
- Ignoring the Undo shortcut (Ctrl+Z) — CorelDRAW supports many undo steps, so experimenting freely is safe.
Keyboard Shortcuts Every CorelDRAW Tutorial Should Cover Early
A handful of shortcuts will speed up every project you build after this tutorial. Memorizing even five or six of them removes a surprising amount of friction from daily use.
- Ctrl+G / Ctrl+U: group and ungroup objects.
- Ctrl+Q: convert text to curves.
- F10: Shape tool for editing nodes.
- Ctrl+D: duplicate with offset.
- Ctrl+PageUp/PageDown: move an object forward or backward in the stacking order.
Where CorelDRAW Fits Compared to Other Design Software
CorelDRAW has been a staple of the vector design world since its original release in 1989, and it remains one of the most complete vector illustration packages available, alongside dedicated suites for photo editing, layout, and font management bundled into recent Graphics Suite editions. For beginners, that breadth means the skills you build in this tutorial — shapes, text, alignment, grouping — transfer directly into more advanced features like mesh fills, power clips, and print prepress tools as you grow.
If you’re deciding which edition to start with, CorelDRAW Graphics Suite covers general design work, while the Technical Suite editions add precision drafting tools aimed at technical illustrators. Beginners who only need core design and illustration tools are typically well served by a standard Graphics Suite license.
Getting Your Software Set Up Correctly
Before you can follow any CorelDRAW tutorial for beginners, you need a properly licensed, activated copy of the software. After purchasing a license key, you sign in at Corel’s official site, download the correct edition for your operating system, install it, and enter the serial number you received when prompted during first launch. Having a genuine activation key avoids interrupted trials and missing features partway through a project.
For designers comparing editions, CorelDRAW Graphics Suite 2025 for Mac and the equivalent CorelDRAW Technical Suite 2025 for Windows both give you a lifetime activation key tied to one device, which is a practical option if you want to avoid a recurring subscription while you’re still learning. Browsing the full CorelDRAW category also lets you compare older and newer editions side by side before deciding which one fits your workflow and budget.
CorelDRAW’s own Getting Started Guide is a useful companion reference once you’ve completed this walkthrough, particularly for exploring features specific to the newest releases.
FAQ
How do I download CorelDRAW after buying a license?
Sign in at Corel’s official site, then go to the download page and select the edition and operating system matching your purchase. The installer package downloads directly from Corel’s servers, keeping your installation source legitimate and up to date.
How do I install CorelDRAW on Windows or Mac?
Run the downloaded installer and follow the on-screen prompts, choosing your installation folder and components. The process is nearly identical on both Windows and Mac, typically taking just a few minutes depending on your connection speed.
How do I activate CorelDRAW with a serial number?
When you first launch the program, it will prompt you for a serial number. Enter the activation key you received with your order to unlock the full license and remove any trial restrictions.
Is CorelDRAW good for complete beginners?
Yes — while the interface looks dense at first, the core workflow of shapes, text, and alignment is approachable within a single practice session. Most newcomers can complete a simple design project, like the badge exercise in this tutorial, within an hour or two.
What is the difference between CorelDRAW and Corel PHOTO-PAINT?
CorelDRAW is a vector illustration and layout application, ideal for logos, print layouts, and scalable artwork. Corel PHOTO-PAINT, bundled in the same Graphics Suite, is a raster photo-editing tool more comparable to pixel-based editors, used for retouching and photo manipulation rather than scalable vector design.
Do I need to convert text to curves before printing?
It’s strongly recommended whenever you’re sending a file to an external print shop that may not have your exact font installed. Converting text to curves locks in the letterforms as vector shapes so the layout displays correctly on any machine.
