
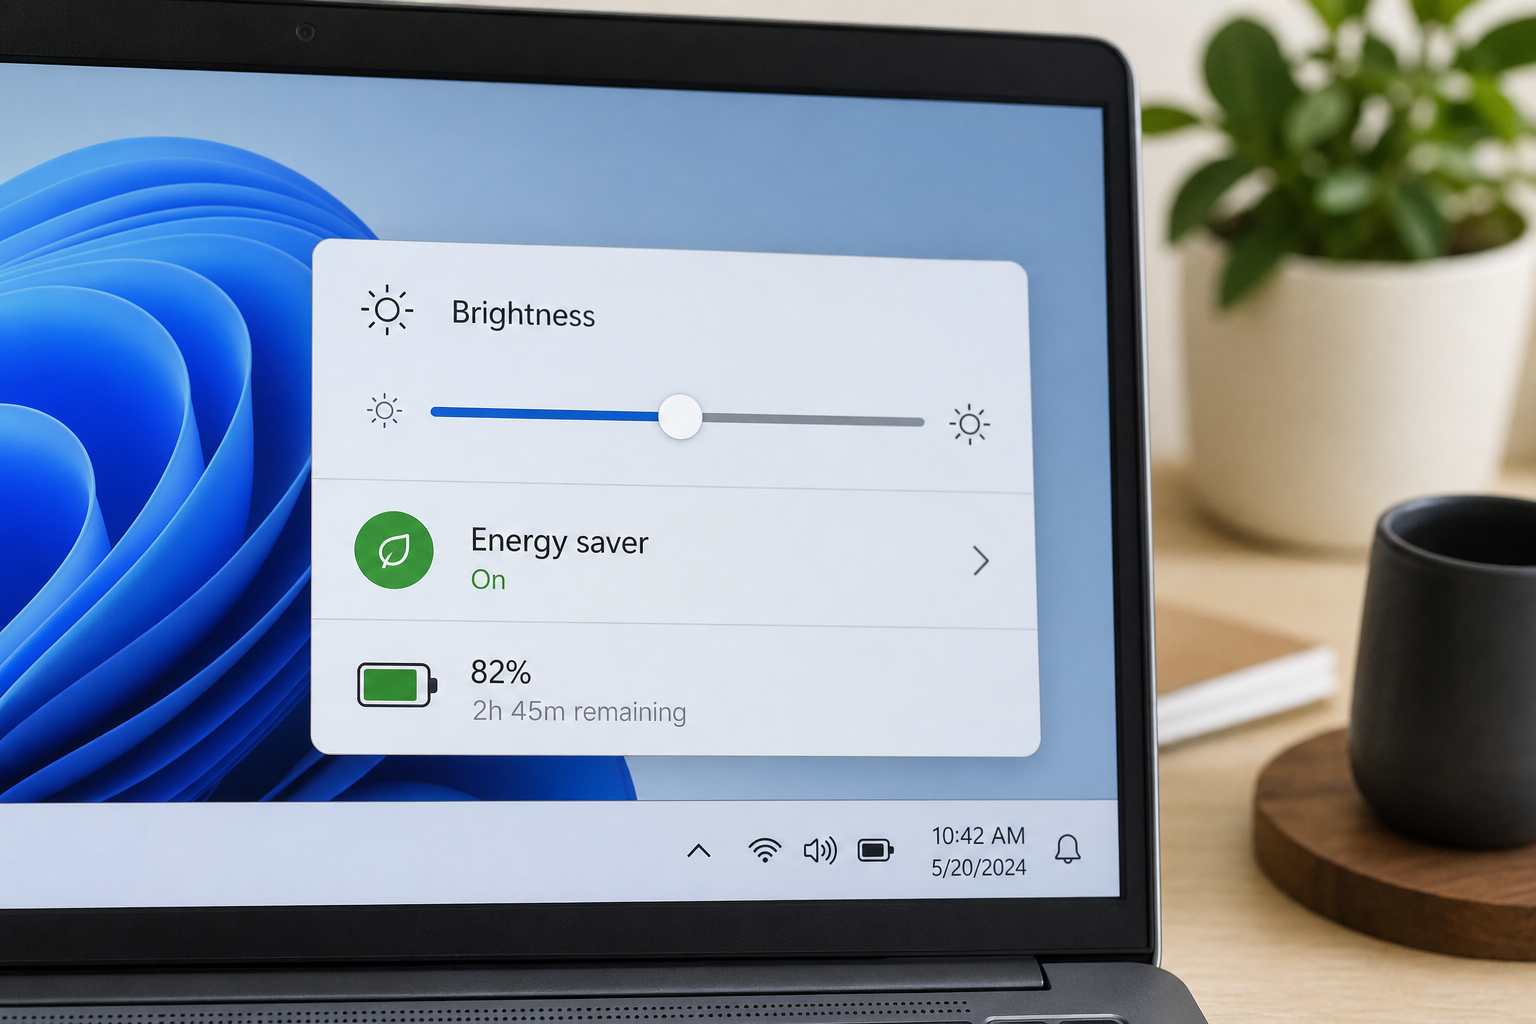
Your laptop battery life and brightness are directly linked — and lowering your screen brightness is the single easiest way to get more hours from every charge, with no software to install and no performance sacrifice. Tests show that reducing screen brightness by approximately 30% can cut display power consumption by a similar margin, making this the highest-return tweak available to any laptop user.
Why Screen Brightness Drains Your Battery So Fast
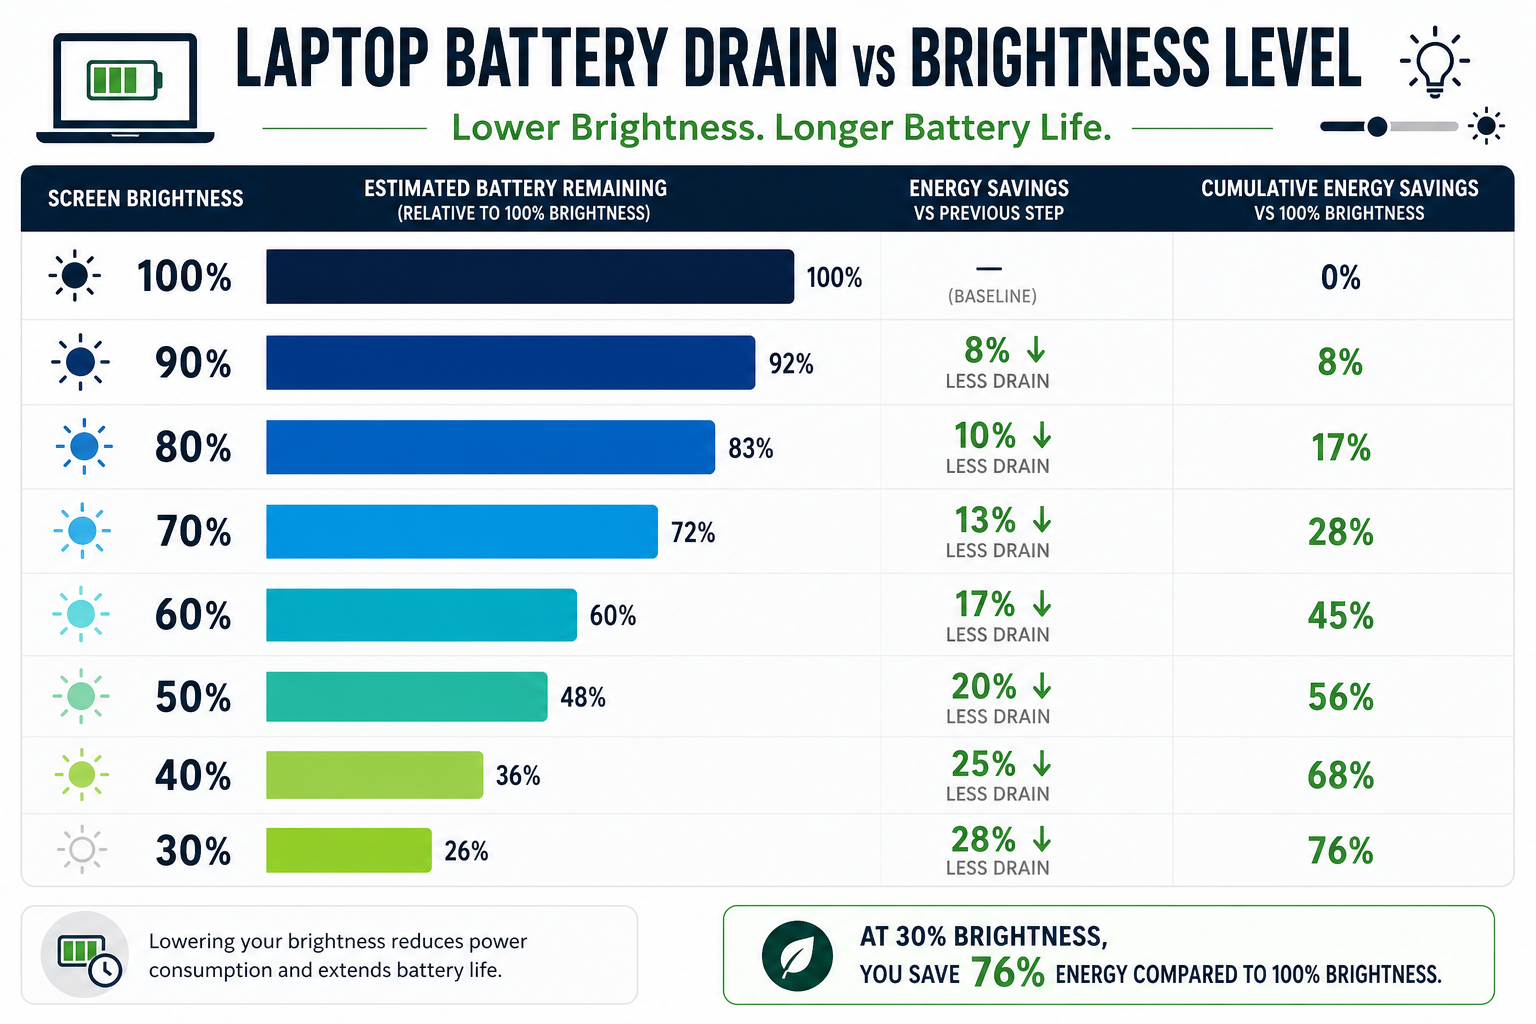
The display is the single most power-hungry component on any modern laptop — outpacing Wi-Fi radios, storage drives, and even the CPU under typical workloads. When your screen is blazing at full brightness, the backlight (or OLED panel pixels) is drawing maximum current continuously. This is why adjusting screen brightness on your laptop delivers immediate, measurable results that most other tweaks simply cannot match.
Research published on ResearchGate measuring the effect of screen brightness on laptop battery drain confirms what power engineers have long argued: the relationship between brightness level and energy consumption is nearly linear across the majority of the brightness range. In practical terms, this means every percentage point you dial back translates almost directly into a percentage point of energy saved from the display subsystem.
- Full brightness (100%): maximum current draw, shortest battery run time
- 60–70% brightness: a comfortable everyday level indoors, meaningfully lower draw
- 40–50% brightness: ideal for dim office or home environments, significant energy saving
- Auto-adaptive brightness: lets the system match ambient light, saving energy without any manual effort
The takeaway is simple: you do not need to sacrifice performance, disable background apps, or switch to a stripped-down power profile to notice a real improvement. Screen brightness is the lever with the most instant impact on laptop display power saving.
How to Adjust Brightness in Windows (11 and 10)
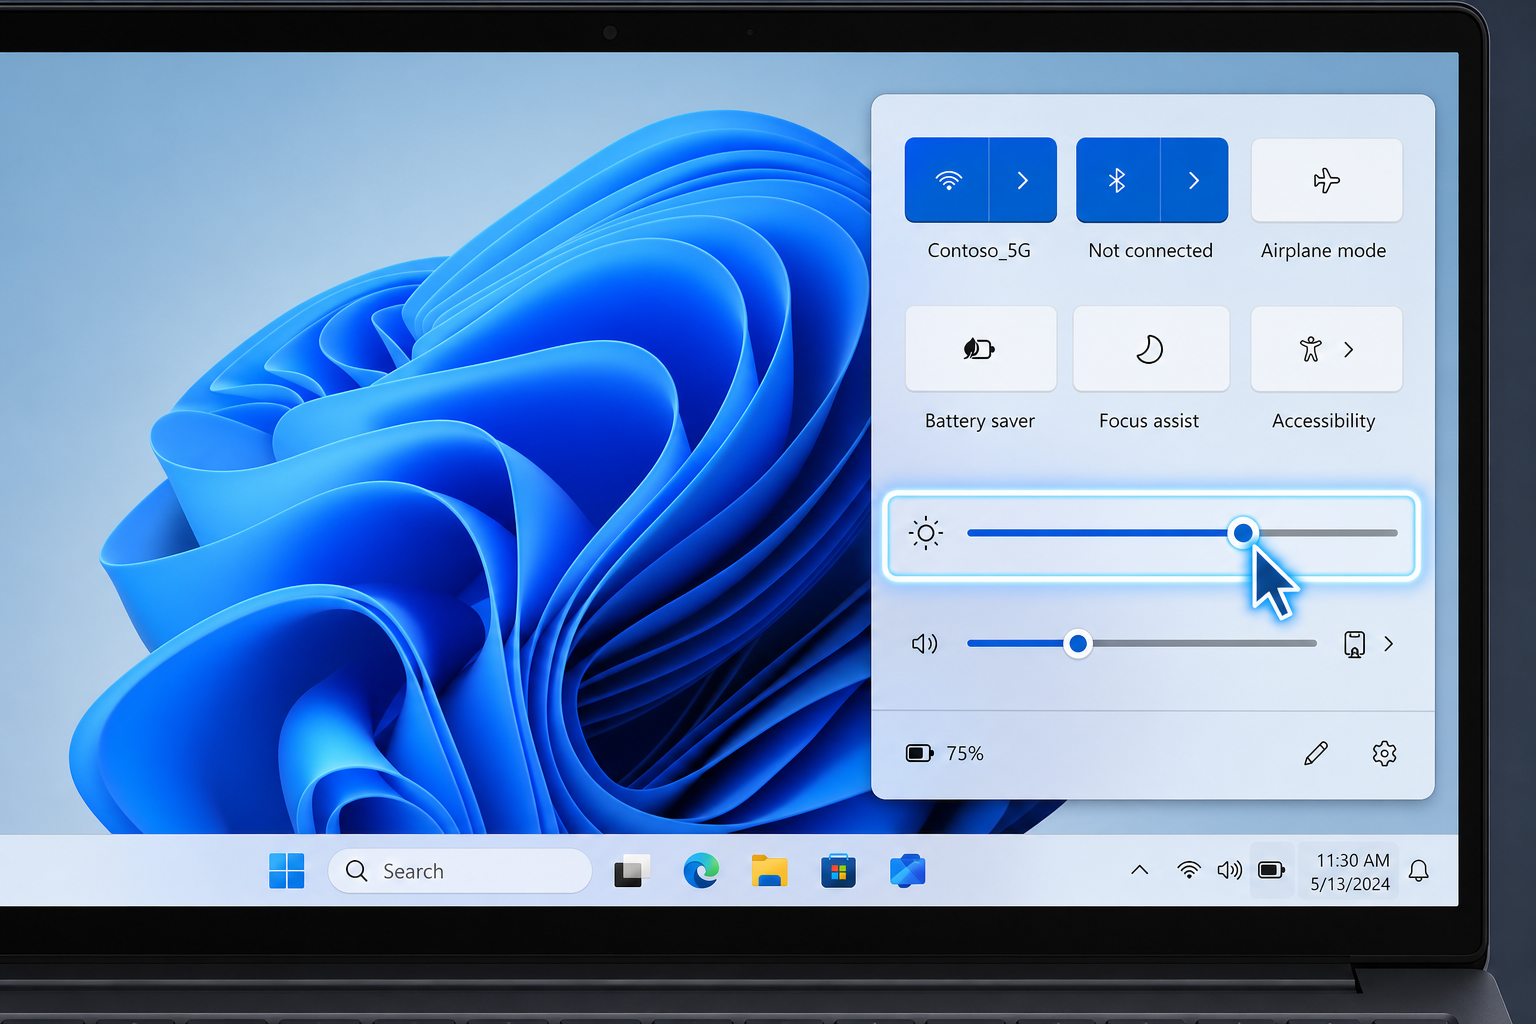
Adjusting brightness on a Windows laptop takes under five seconds and requires no third-party tools. Microsoft has made the control available from multiple locations so you are never far from it.
Method 1 — Quick Settings Panel
Press Windows + A to open Quick Settings (the panel that appears from the bottom-right corner of the taskbar). You will see a brightness slider immediately. Drag it left to reduce brightness. This works in both Windows 10 and Windows 11 and is the fastest route for a quick manual adjustment.
Method 2 — Settings App
Navigate to Start → Settings → System → Display. Under the Brightness section you will find the main slider alongside a toggle labelled Change brightness automatically when lighting changes. Enabling that toggle activates the ambient light sensor (on devices that have one), so the laptop continuously adjusts screen brightness for battery optimisation without any further input from you.
Method 3 — Energy Recommendations (Windows 11)
Windows 11 introduced a dedicated Energy Recommendations page at Settings → System → Power & Battery → Energy Recommendations. One of its top suggestions is explicitly to set screen brightness for best energy efficiency. Clicking Apply next to that recommendation configures the optimal brightness level in one tap — Microsoft’s own guidance for maximising laptop battery life and brightness balance. You can read the full breakdown on Microsoft’s official display brightness support page.
Method 4 — Battery Saver Mode
Windows also lets you automatically lower brightness whenever the Battery Saver kicks in. Go to Settings → System → Power & Battery → Battery Saver and enable the Lower screen brightness when using Battery Saver toggle. From that point on, whenever your battery dips below your chosen threshold (default is 20%), the display dims automatically — combining two power-saving strategies at once.
Keyboard Shortcut
Most Windows laptops retain dedicated function keys (often Fn + F5/F6 or similar, depending on the manufacturer) for instant brightness adjustment without opening any menu. Check the icons printed on your function row — a sun icon with up/down arrows is the standard symbol.
How to Adjust Screen Brightness for Battery on macOS
Apple’s macOS offers equally accessible controls for adjusting brightness on a laptop, and the built-in ambient light sensor on most MacBooks means the system can handle the adjustment automatically.
Control Centre
Click the Control Centre icon in the top-right menu bar and drag the Display brightness slider. This works on macOS Monterey and later and is the quickest manual route.
Keyboard Keys
On most MacBook models press F1 to dim and F2 to brighten. On newer keyboards that use the function row for media controls, hold Fn while pressing those keys. Alternatively, Fn + C opens Notification Centre where the brightness tile is also accessible.
System Settings
Open System Settings → Displays. Here you will find the main slider plus the Automatically adjust brightness checkbox. Enabling it activates the ambient light sensor so the display dims in darker rooms and brightens outdoors — a direct way to optimise laptop display power saving hands-free.
True Tone (available on most MacBooks from 2018 onwards) adjusts white balance for visual comfort but does not directly reduce power draw. Keep it enabled for eye comfort, but do not rely on it for battery savings — the brightness level itself is what counts.
The 30% Rule: What the Data Actually Says
Studies examining screen brightness and battery life consistently point to the same conclusion: cutting brightness by roughly 30% reduces display power consumption by approximately the same proportion. Because the display typically accounts for between 30% and 50% of total laptop power draw during typical use, a 30% reduction in display power translates to a 9%–15% improvement in overall battery run time — without changing a single other setting.
On a laptop with a rated 8-hour battery life, that improvement could mean an extra 45 minutes to over an hour of real-world use. On a machine with a 10-hour rating, it could push you comfortably past the 11-hour mark under light workloads.
These figures vary by panel type: OLED screens save more energy from brightness reduction than IPS or TN panels because each pixel self-illuminates — darker content at lower brightness genuinely uses less power. LCD panels (IPS and TN) use a constant backlight, so the saving comes purely from backlight dimming rather than per-pixel control.
- IPS/TN LCD laptops: ~25–35% display power reduction per 30% brightness drop
- OLED laptops: even greater savings when brightness is low and screen content is dark
- Overall battery gain: typically 9–15% on full system power, more under light workloads
Optimal Brightness Levels for Different Environments
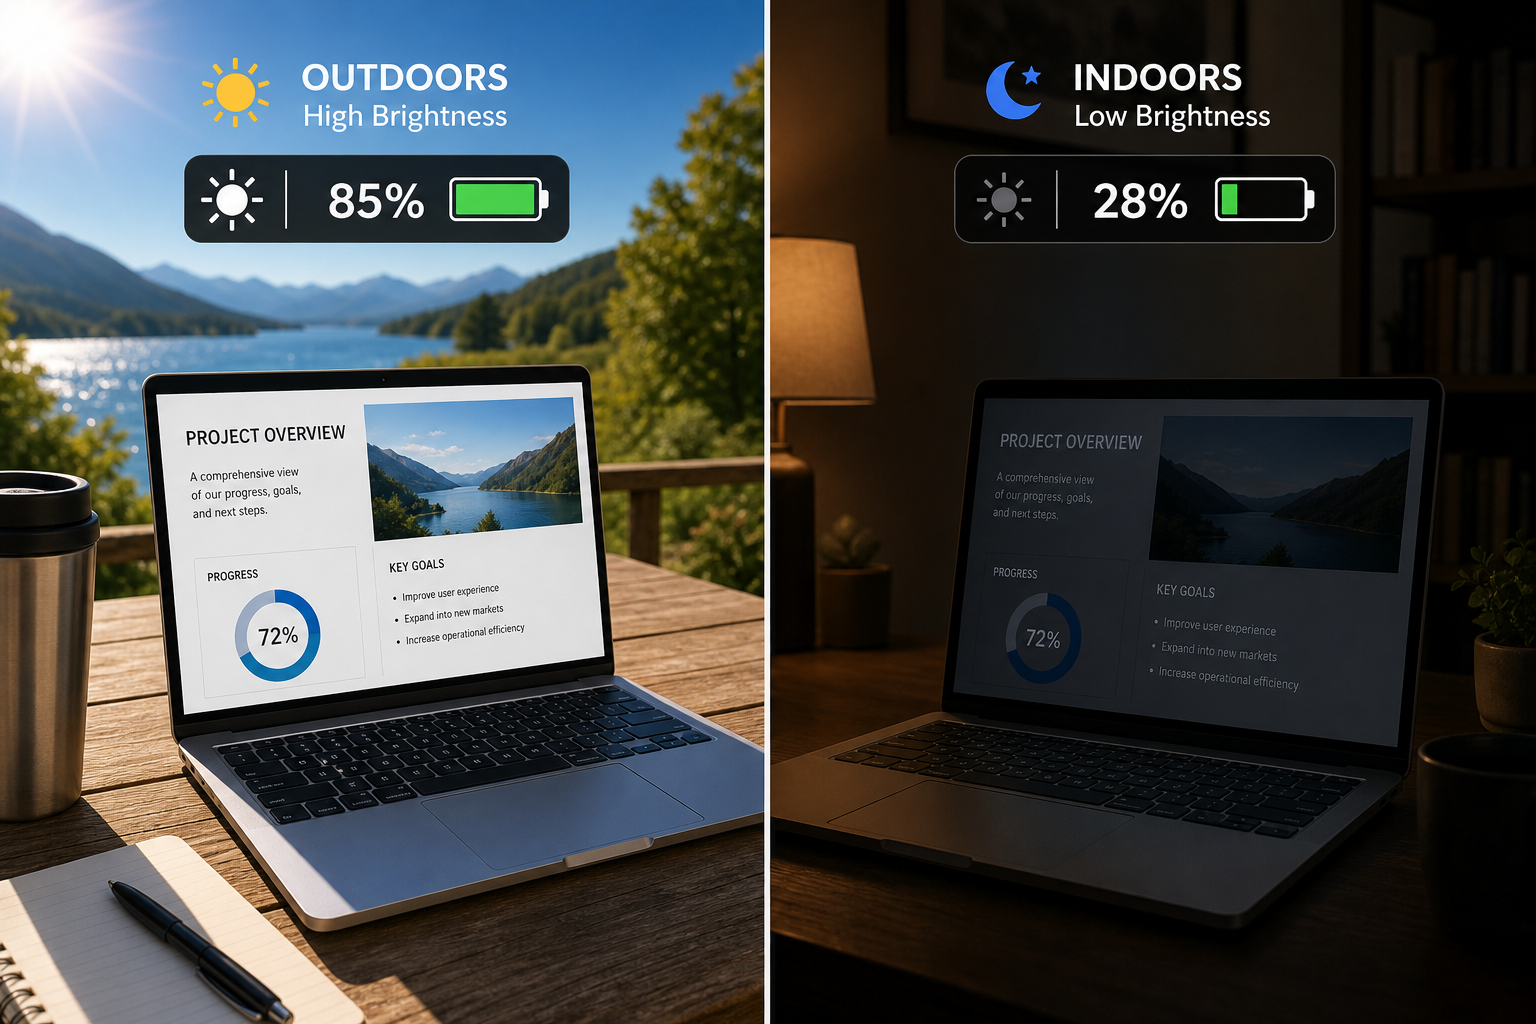
There is no single correct brightness level — the right setting depends entirely on your surroundings. Choosing the lowest comfortable level for your current environment is the practical approach to laptop battery life brightness management.
- Bright outdoor use: 80–100% — high ambient light demands higher brightness for readability
- Indoor office with windows: 50–70% — comfortable and noticeably more efficient than maximum
- Dim or artificial-light room: 30–50% — the sweet spot between battery saving and eye comfort
- Evening use or darkened room: 20–35% — low brightness reduces both power draw and eye strain
- Night Mode + reduced brightness: combine with blue light filter for maximum comfort after dark
Letting ambient light sensor automation handle these transitions is the most efficient approach. Enable Automatically adjust brightness in both Windows and macOS and use manual overrides only when the sensor makes a poor decision (for example, when a bright lamp behind you causes the sensor to over-brighten).
Other Quick Wins That Pair Well With Brightness Adjustment
Reducing brightness is the top single action for laptop battery life and brightness management, but combining it with a few additional settings multiplies the benefit without any meaningful impact on day-to-day usability.
- Reduce screen timeout: set the display to turn off after 2–3 minutes of inactivity (Windows: Settings → System → Power & Battery → Screen and sleep)
- Enable Battery Saver / Low Power Mode: both Windows and macOS have built-in modes that throttle background activity and reduce brightness automatically below a battery threshold
- Disable keyboard backlight when not needed: on laptops with backlit keyboards, turning off or reducing keyboard illumination provides a small but genuine secondary saving
- Use dark mode: on OLED screens, dark mode reduces the number of brightly lit pixels, directly cutting power consumption alongside lower screen brightness for battery
- Close unused browser tabs: every active tab drives CPU and GPU activity, which in turn increases heat and draws more power — fewer tabs means a cooler, longer-lasting machine
If you are running Windows 10 and your laptop is struggling to cope, it may be worth considering an upgrade. Newer versions of Windows include more granular power management features, including the Energy Recommendations page mentioned above. You can find out more about how to upgrade your Windows 10 PC to Windows 11 for free, even on older hardware that initially fails the compatibility check.
For a broader look at Windows power and display settings, the Windows Troubleshooting guides on ShopKeyOnline cover everything from display driver issues to sleep and hibernation configuration.
FAQ: Laptop Battery Life and Brightness
Does lowering brightness actually make a noticeable difference to battery life?
Yes — measurably so. The display is the largest individual power consumer on most laptops, and reducing brightness by 30% can cut display energy use by a similar proportion. On a full system level this typically adds 9–15% to total run time, which on an 8-hour laptop can mean 45 minutes or more of extra use.
What is the best brightness setting for saving battery on a Windows laptop?
For most indoor environments, 40–60% brightness offers the best balance of readability and battery efficiency. Windows 11’s Energy Recommendations tool will suggest a specific value for your display. You can also enable automatic brightness adjustment via Settings → System → Display to let the system manage it for you.
How do I turn on auto-brightness in Windows 11?
Go to Settings → System → Display. Under the Brightness slider, enable the toggle labelled Change brightness automatically when lighting changes. This requires a device with an ambient light sensor; if your laptop lacks one, the toggle will be greyed out.
Does screen brightness affect battery health as well as run time?
Running a battery through frequent deep discharge cycles degrades it faster. By extending run time through lower brightness, you are effectively reducing how deeply the battery discharges during a typical session — which can modestly slow long-term capacity degradation. The primary benefit is more run time per charge, but healthier charge cycles are a secondary positive.
Is adaptive brightness the same as Battery Saver mode?
No — they are separate features. Adaptive brightness uses an ambient light sensor to match brightness to your environment automatically, regardless of battery level. Battery Saver mode activates at a low battery threshold and reduces brightness (among other things) to stretch remaining charge. Both can be active at the same time, and using them together gives the best automatic laptop battery life brightness management.
