
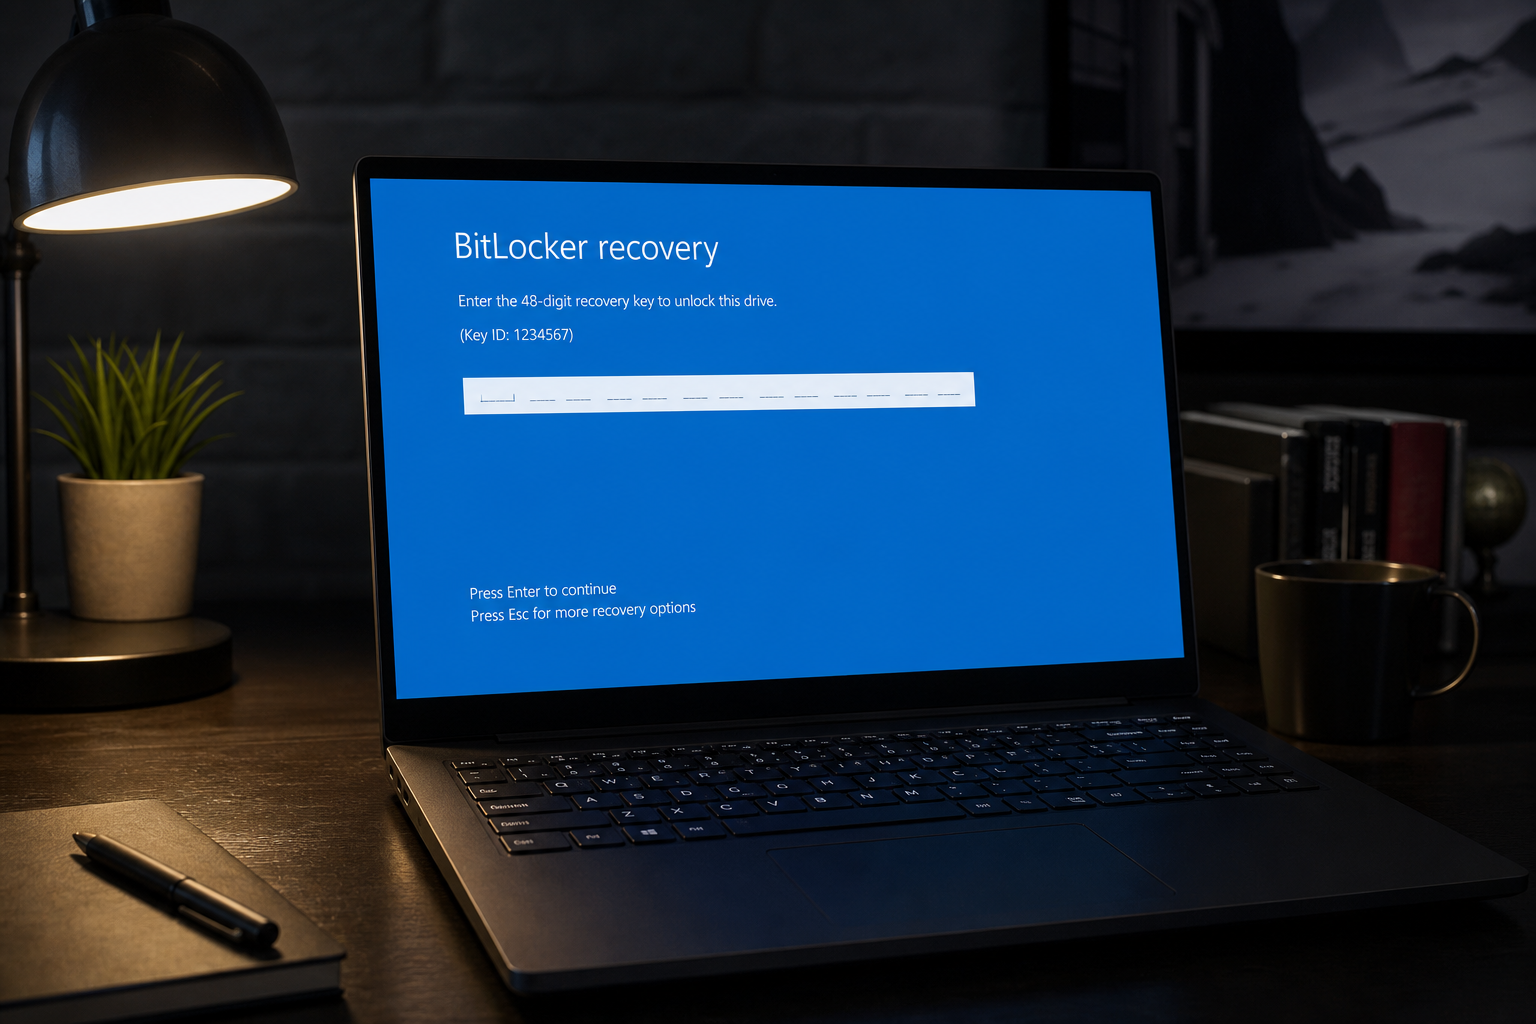
Windows 11 BitLocker boot issues have surged following several 2026 cumulative updates — most notably KB5094126 (June 2026) and KB5083769 (April 2026) — leaving users locked out of their own PCs with an unexpected recovery-key prompt on every restart. If your machine is stuck on the BitLocker recovery screen after a Windows Update, you are not alone, and this is fixable. Below you will find a plain-English explanation of why it is happening, a step-by-step recovery walkthrough, and instructions for pausing auto-updates so it does not happen again.
Why Are Windows Updates Causing a BitLocker Boot Failure?
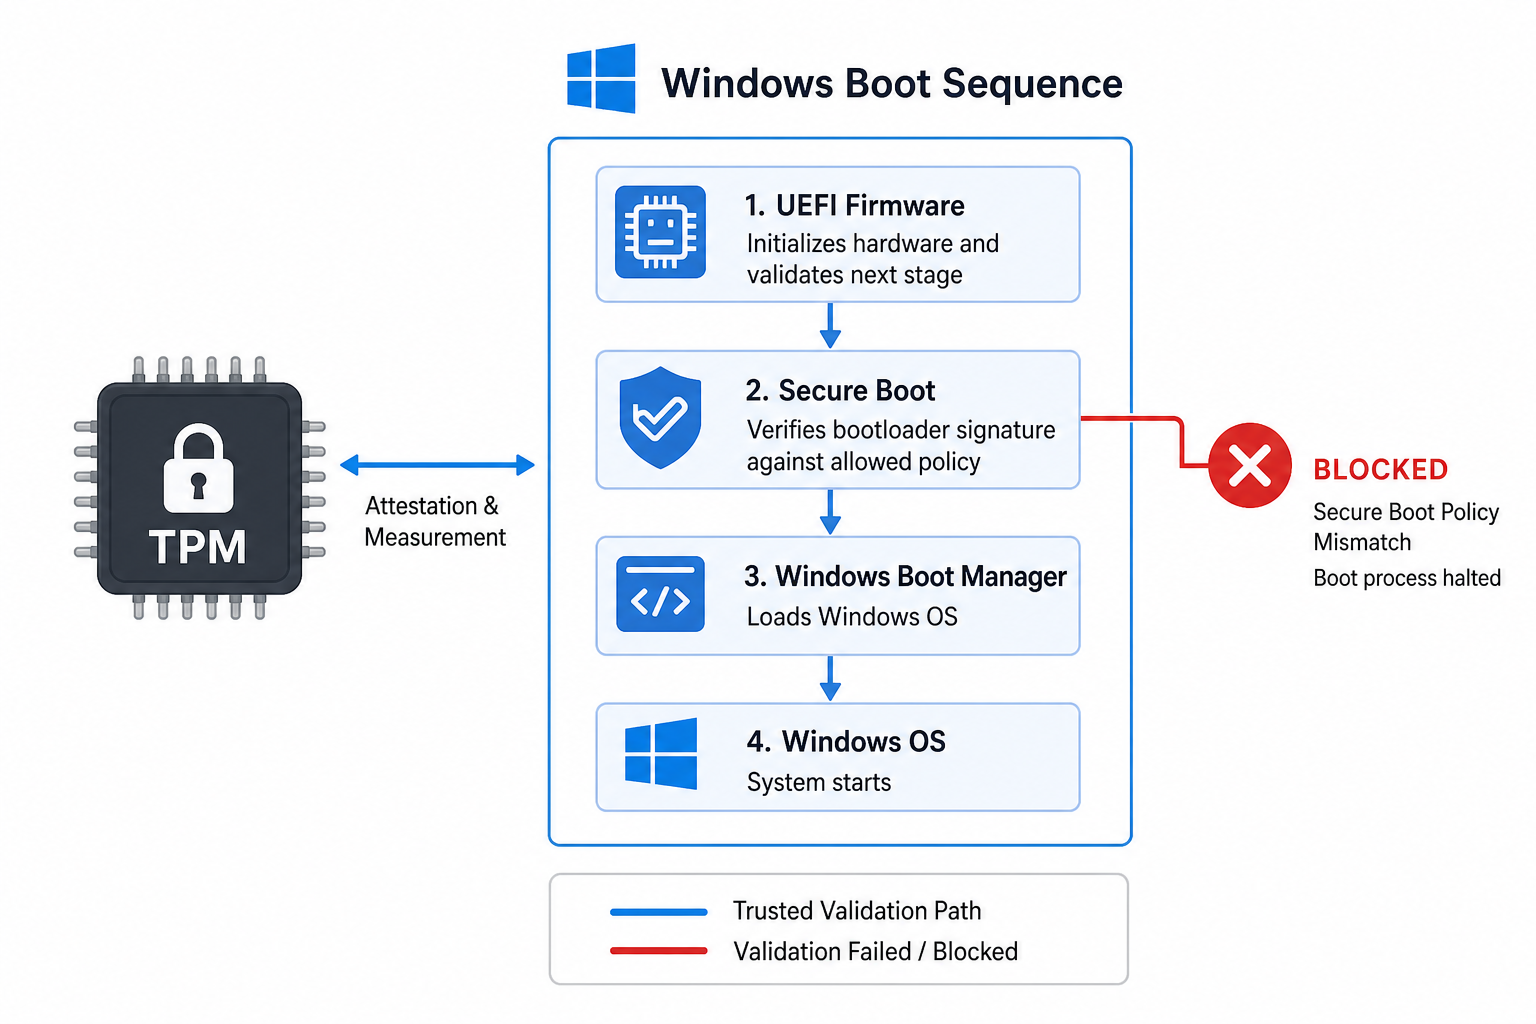
BitLocker uses your PC’s Trusted Platform Module (TPM) chip to measure the integrity of the boot environment. When a Windows cumulative update modifies Secure Boot policy files or EFI boot components, the TPM sees a change in those measurements and — correctly, from its point of view — refuses to release the encryption key automatically. The result is a Windows 11 boot failure that drops you straight into the blue BitLocker recovery screen before the desktop even loads.
Microsoft acknowledged the issue publicly: the April 2026 update KB5083769 addressed a known bug where devices entered BitLocker Recovery after Secure Boot file changes, and the June 2026 update KB5094126 has since introduced a fresh wave of the same BitLocker recovery loop on affected machines — particularly on HP hardware, though other brands are also affected. IT administrators managing fleets of devices have reported that a significant share of recently patched endpoints triggered the recovery prompt on the very next boot.
How to Diagnose a BitLocker Boot Fix Situation
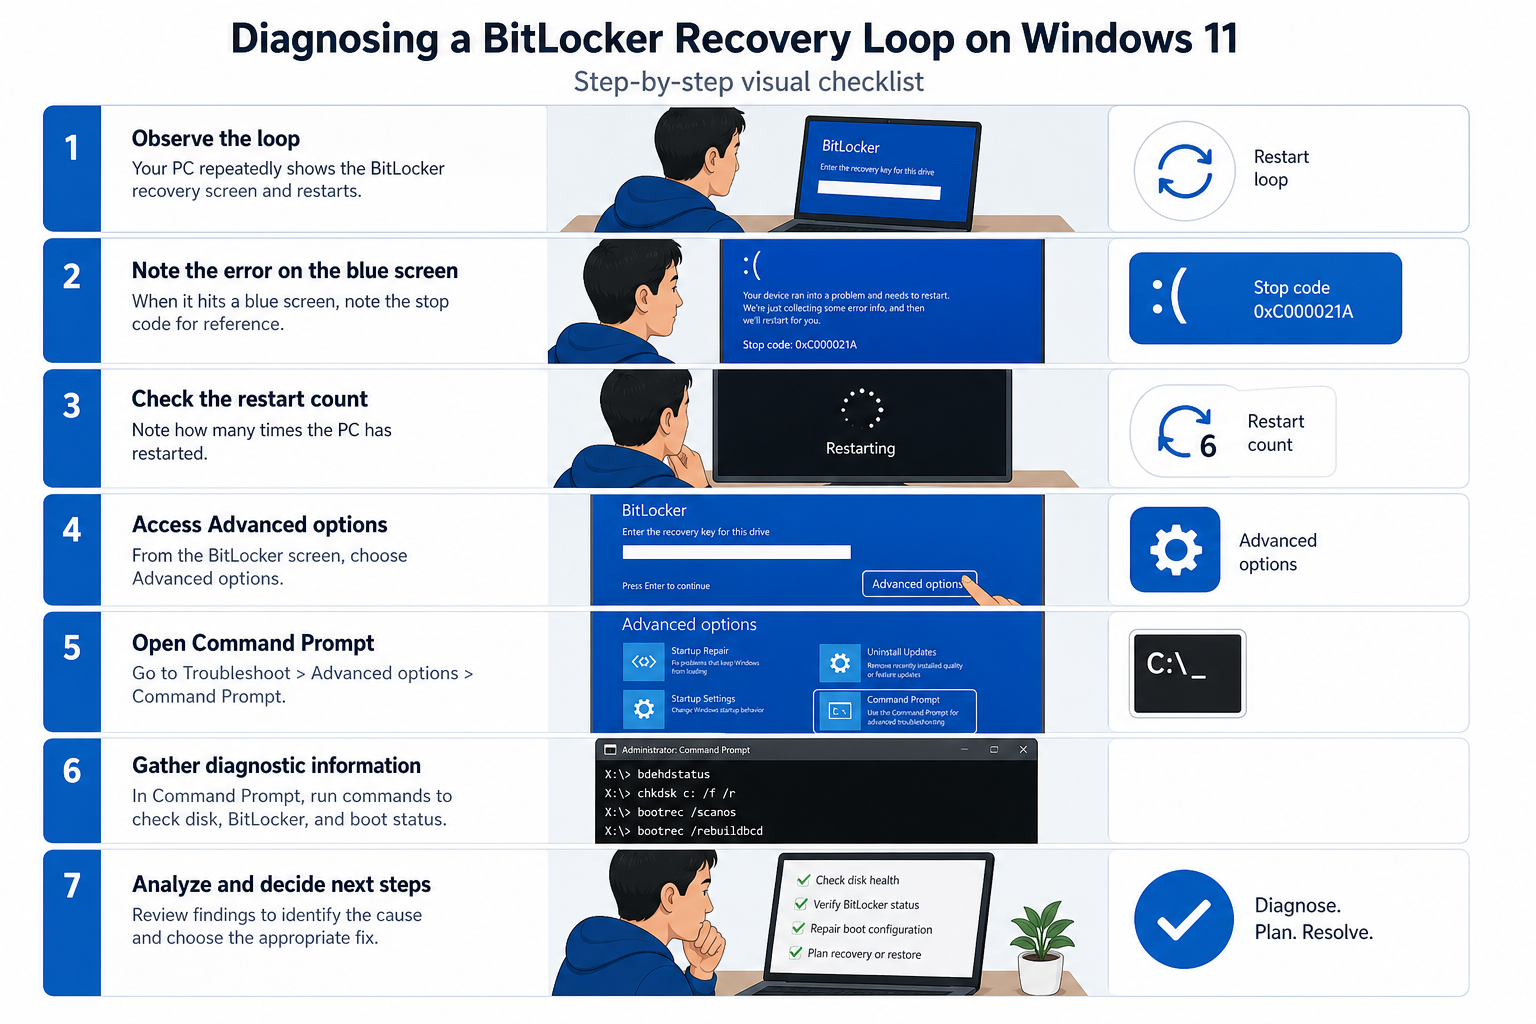
Before you start typing in recovery keys at random, spend two minutes confirming the exact cause. Different triggers need different solutions.
- Check the BitLocker recovery screen message. A standard TPM-mismatch message says “Enter the recovery key for this drive.” This is the update-triggered scenario and is recoverable without data loss.
- Note any error codes. A BSOD with codes like
0xC0000428(invalid image hash) or0xC000000F(boot file not found) alongside the BitLocker prompt suggests Secure Boot policy corruption, not just a TPM measurement mismatch. - Count how many times the recovery screen appears. If it appears once and disappears after entering the key, the update triggered a one-time re-measurement. If it loops back every restart, you have a persistent BitLocker recovery loop that needs the extra steps in the next section.
- Identify the update that caused it. Boot into Windows RE (hold Shift and click Restart, or power-cycle three times to trigger automatic recovery), open Command Prompt, and run
dism /online /get-packagesto list recent updates.
Step-by-Step Recovery from a BitLocker Recovery Loop
Follow these steps in order. The BitLocker boot fix for most users is resolved at step 2 or 3; only edge cases need to go all the way to step 5.
Step 1 — Find Your BitLocker Recovery Key
You cannot proceed without the 48-digit recovery key. Look in the following places (in order of likelihood):
- Sign in to account.microsoft.com/devices/recoverykey from another device — keys linked to a Microsoft Account are stored here automatically.
- Your organisation’s Azure Active Directory portal (for work devices managed by IT).
- A printout or USB drive saved when BitLocker was first enabled.
- Your IT department — if this is a managed corporate device, they almost certainly have the key escrowed.
Step 2 — Enter the Recovery Key and Let Windows Boot
Type the 48-digit key on the recovery screen. Windows will boot normally. Do not restart yet — proceed immediately to step 3 before the next reboot re-triggers the loop.
Step 3 — Suspend BitLocker Temporarily
Open an elevated Command Prompt (right-click Start → Terminal (Admin)) and run:
manage-bde -protectors -disable C:
This suspends BitLocker protection for one reboot cycle, giving Windows time to re-register the new boot measurements in the TPM without triggering another recovery prompt. Re-enable it straight after the successful reboot:
manage-bde -protectors -enable C:
Step 4 — Remove the Problematic Update (if the Loop Persists)
If the recovery screen reappears after step 3, the cumulative update itself needs to be rolled back. Boot into Windows Recovery Environment and open Command Prompt, then run:
wusa /uninstall /kb:5094126
Replace the KB number with the update you identified in the diagnosis step. Our in-depth guide on Windows Update rollback and safe patch removal covers every method in detail, including the Settings UI route if the command line is not available.
Step 5 — Repair the Secure Boot Database (Advanced)
A small number of machines — particularly those showing 0xC0000428 — have a corrupted Secure Boot database after the update. In Windows RE, run:
bcdedit /set {default} recoveryenabled Yes
Then boot to a Windows 11 USB installer, choose Repair Your Computer → Startup Repair and let it rebuild the BCD store. Microsoft’s own BitLocker recovery known issues documentation on Microsoft Learn covers the advanced TPM-protector disable path for scenarios where Startup Repair alone is not enough.
How to Pause Windows Updates to Prevent BitLocker Boot Issues
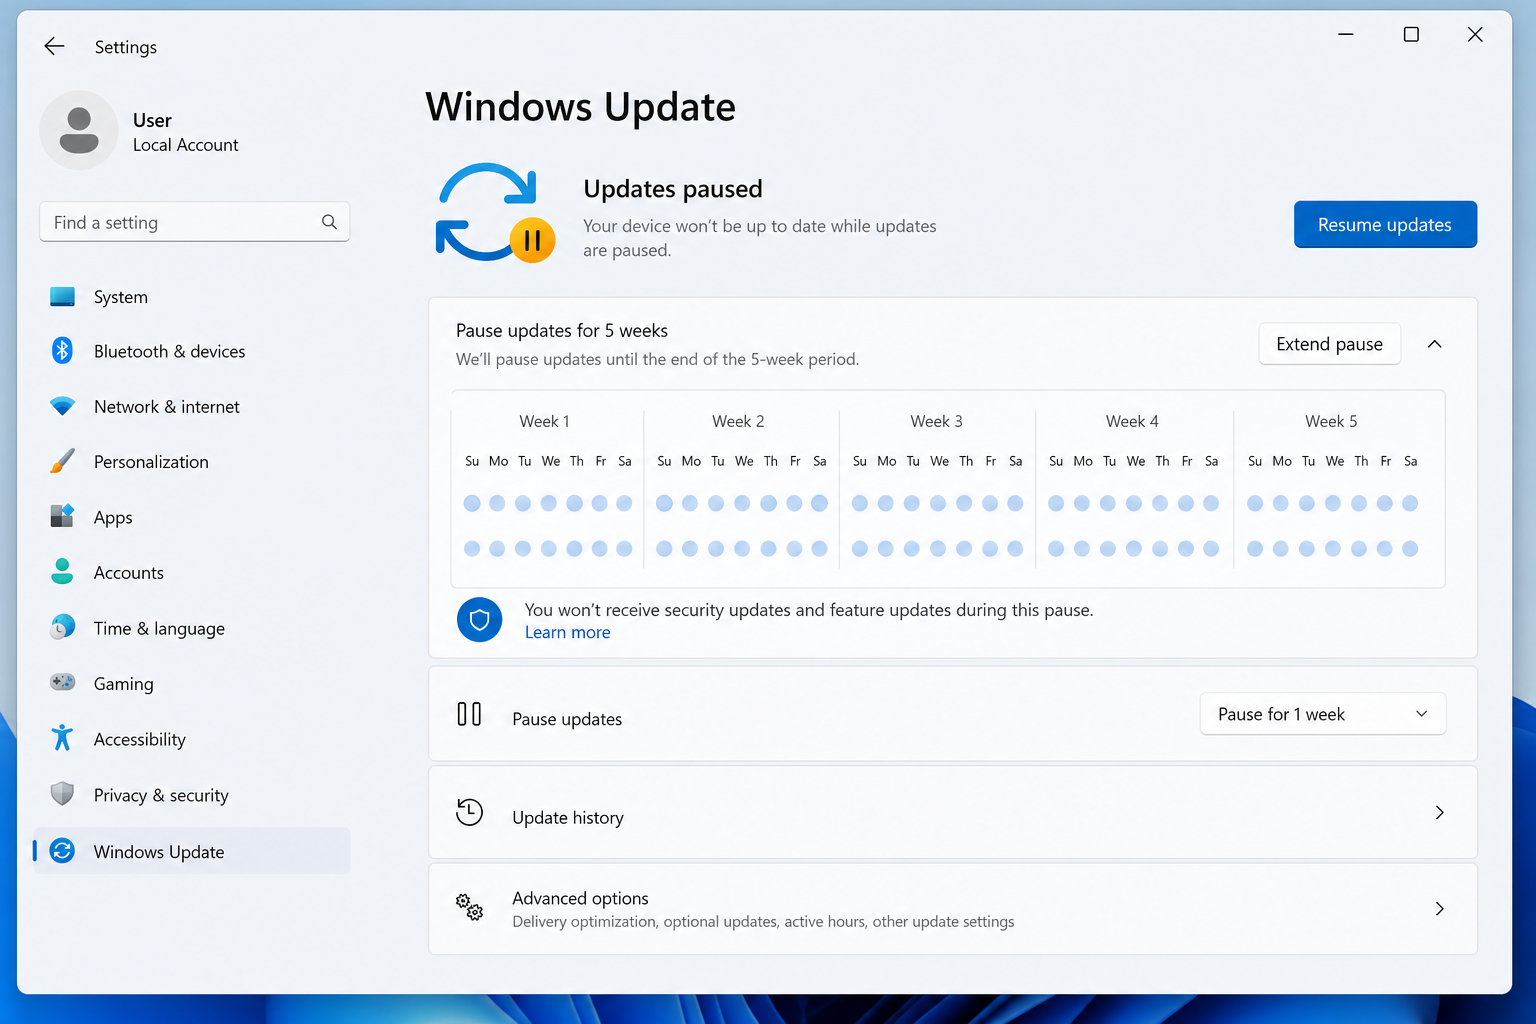
Once you are back inside Windows, pausing automatic updates buys you time to wait for a patched cumulative update before the next round of changes disturbs your TPM measurements again.
- Settings route: Go to Settings → Windows Update → Advanced Options → Pause Updates. Windows 11 Home allows up to 5 weeks; Pro and Enterprise allow longer policies.
- Group Policy (Pro/Enterprise): Open
gpedit.msc→ Computer Configuration → Administrative Templates → Windows Components → Windows Update → Manage end user experience → Configure Automatic Updates. Set to “Notify for download and auto-install.” - Registry (Home workaround): Set
HKLM\SOFTWARE\Policies\Microsoft\Windows\WindowsUpdate\AU\NoAutoUpdateto1.
Keep security updates paused for no more than 4–5 weeks — skipping patches indefinitely is a far greater risk than the update-triggered BitLocker recovery loop.
Backing Up Your BitLocker Recovery Key Before the Next Update
The single best defence against future Windows 11 boot failure caused by BitLocker is making sure your recovery key is always accessible. Run this command to back it up to your Microsoft Account right now:
manage-bde -protectors -get C:
Copy the 48-digit Numerical Password and store it in your Microsoft Account at account.microsoft.com/devices/recoverykey, print it, or save it securely in a password manager. It takes under 60 seconds and could save hours of panic next time an update rolls out.
What If You Need a Clean Windows 11 Installation?
In the worst-case scenario — Secure Boot is irreparably corrupted, or a factory reset is the only practical path — you will need a valid Windows 11 licence key to reactivate after a clean install. If your current key was an OEM key tied to a device that no longer boots, you may need a fresh retail licence. Shop Key Online stocks Microsoft Windows 11 Pro Retail keys starting from €17.95, delivered by email within minutes so you can get your reinstall moving without waiting for a physical disc. Retail licences are transferable and fully genuine, activating directly against Microsoft’s servers with lifetime validity.
BitLocker Boot Fix: Key Takeaways
- Recent updates KB5094126 (June 2026) and KB5083769 (April 2026) are the primary triggers for the current wave of Windows 11 BitLocker boot issues.
- The root cause is Secure Boot file changes altering TPM measurements, forcing BitLocker into recovery mode.
- Most users can resolve the BitLocker recovery loop in under 10 minutes using the
manage-bdesuspend command after entering their key. - Always back up your 48-digit recovery key to your Microsoft Account before applying major updates.
- Pausing updates for 3–5 weeks after a problematic release lets Microsoft issue a corrective patch.
- A clean reinstall with a fresh Windows 11 key is the last resort — but it is a full solution when nothing else works.
Frequently Asked Questions
Why does my PC keep asking for a BitLocker key after every restart?
If the recovery screen reappears after each reboot, the TPM measurements have not been updated to reflect the new boot configuration. Suspending BitLocker with manage-bde -protectors -disable C:, rebooting once, and then re-enabling it usually breaks the loop. If it persists, rolling back the offending Windows Update is the next step.
Can I recover my files if I don’t have the BitLocker recovery key?
Without the 48-digit recovery key, the data on a BitLocker-encrypted drive is mathematically inaccessible — that is exactly what encryption is designed to achieve. Check your Microsoft Account at account.microsoft.com/devices/recoverykey first, as Windows often backs the key up there silently when you sign in with a Microsoft Account. If the key is not there and was never saved, data recovery is not possible without it.
Does this affect Windows 11 Home as well as Pro?
BitLocker Device Encryption (a lighter version of full BitLocker) is enabled by default on many Windows 11 Home PCs that meet the hardware requirements. These devices are just as susceptible to the update-triggered recovery loop as Pro machines running full BitLocker. The same recovery steps apply to both editions.
How do I know if my PC has BitLocker turned on?
Open Settings → Privacy & Security → Device Encryption (Home) or Settings → System → Storage → Advanced Storage Settings → Disks & Volumes → select your C: drive → Properties (Pro). Alternatively, run manage-bde -status in an elevated Command Prompt — a “Protection On” status with “Fully Encrypted” confirms BitLocker is active.
Will pausing Windows Updates leave my PC vulnerable to malware?
A short pause of 3–5 weeks carries a low but non-zero risk, especially for zero-day vulnerabilities. Keep Windows Defender real-time protection enabled, avoid clicking unknown links or attachments, and resume updates as soon as Microsoft confirms the BitLocker boot issue is resolved in a follow-up patch. Do not pause updates indefinitely.
