
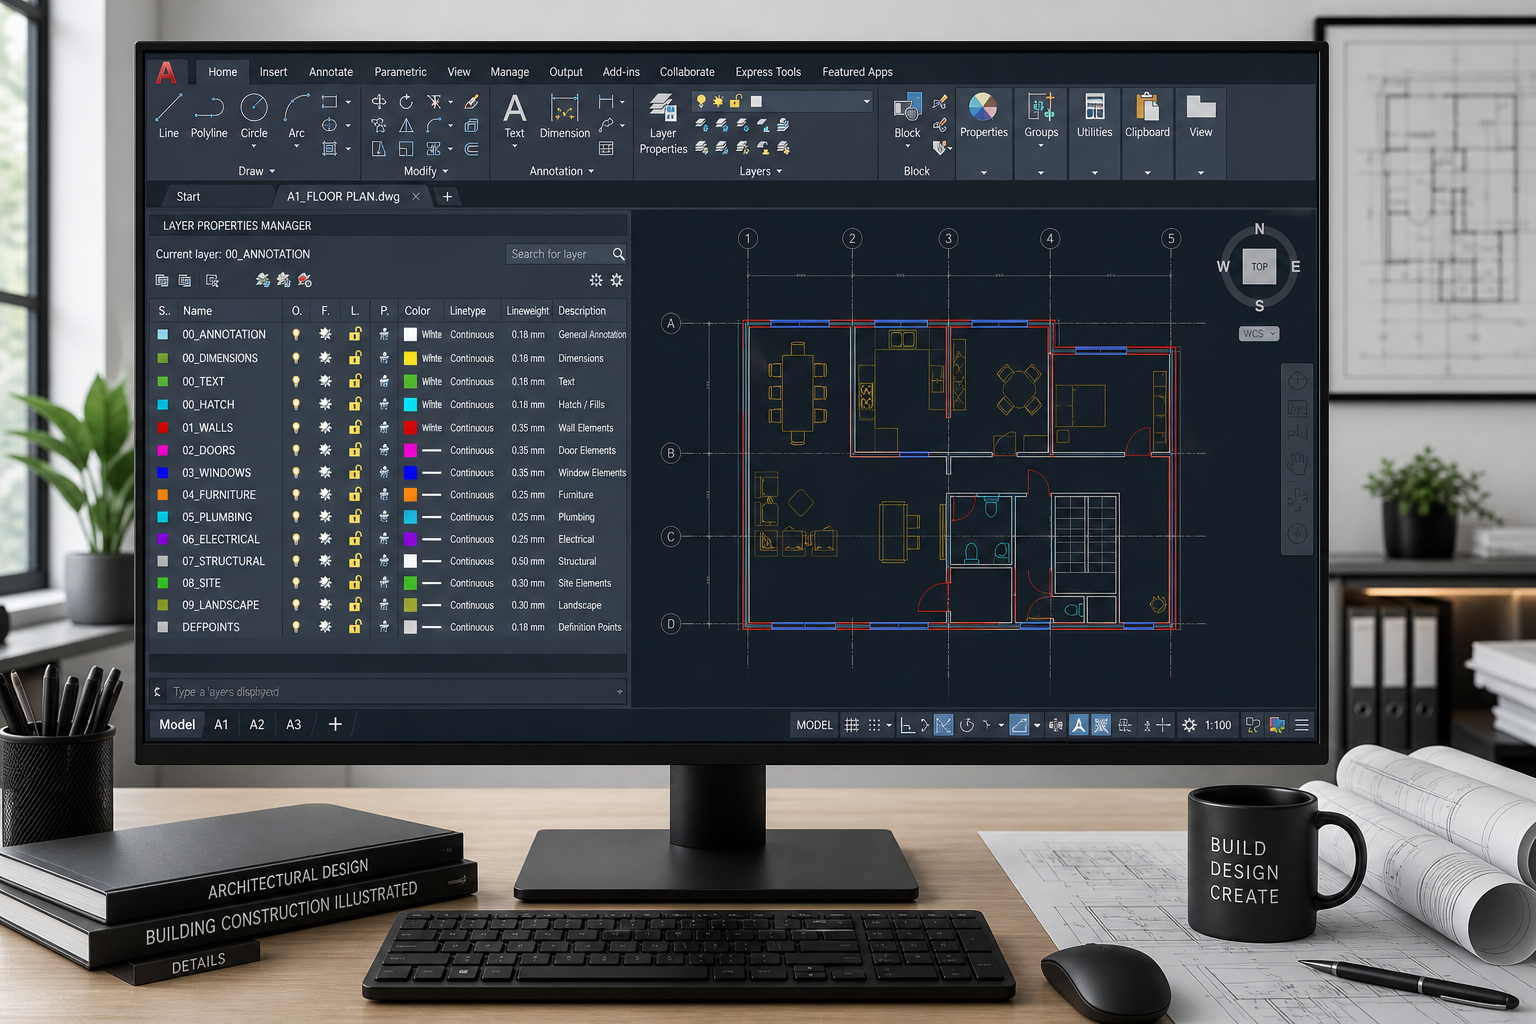
Good AutoCAD layer management means giving every object a predictable, named layer from the moment you start drawing, then using layer states, filters, and templates to keep that structure consistent as the project grows. Get the system right on day one, and a 400-sheet project stays as easy to navigate as a single detail drawing.
Most drawing chaos doesn’t happen because someone was careless. It happens because a project starts small — a handful of layers, quick names, no real plan — and then scales past the point where anyone can remember what’s on what. Six months later nobody knows if A-WALL-EXTG or WALL_OLD is the right layer for existing construction, and every new hire adds their own naming logic on top. This guide lays out a repeatable workflow so that doesn’t happen to you.
Why AutoCAD Layer Management Breaks Down on Large Projects

Layer structures fail when naming is inconsistent, when nobody owns the standard, and when there’s no fast way to isolate what you need. On a single-sheet drawing you can scroll through a short layer list and find what you want. On a multi-discipline project with hundreds of sheets, that approach collapses.
The usual failure points are predictable:
- Layers named by whoever drew them first, with no shared convention
- Duplicate layers doing the same job under slightly different names
- No distinction between layers that should print and layers that are reference-only
- Layer states never saved, so every viewport needs manual on/off toggling
- Templates that don’t match what the team actually uses, so people build layers from scratch each time
Fixing this isn’t about a single command — it’s about a workflow you apply consistently across every drawing.
Step 1: Build a Layer Naming Convention Before You Draw
Decide your naming convention before you create a single layer, not after the drawing is already full of objects. A convention only works if it’s applied from the first line drawn, because retrofitting names onto an established drawing is slow and error-prone.
Most firms base their structure on discipline, major group, and status, which mirrors the logic used in the U.S. National CAD Standard layer format. A typical name might look like A-WALL-EXTG — A for architectural, WALL for the major group, EXTG for existing. You don’t have to adopt the full national standard, but borrowing its logic gives you a naming pattern that’s already been tested across the industry.
Keep the Convention Simple Enough to Enforce
A naming system nobody can remember gets ignored within a week. Aim for:
- A short discipline prefix (A, S, M, E, C for architectural, structural, mechanical, electrical, civil)
- A consistent separator (hyphens are standard and readable)
- A limited, documented list of status suffixes (EXTG, NEW, DEMO, FUTR)
- No spaces, no ambiguous abbreviations that only one person understands
Write the convention down in a one-page reference and store it somewhere every team member can find it. A convention that only lives in one person’s head isn’t a standard — it’s a bottleneck.
Step 2: Structure Layers by Discipline and Element Type

Organize layers around discipline first, then element type, so that anyone opening the drawing can predict where an object lives without searching. This is the backbone of practical AutoCAD layer management on multi-trade projects, a workflow covered in depth in Autodesk’s professional layer management tutorial — architectural, structural, mechanical, electrical, and civil work should never share layers, even when the geometry looks similar.
Inside each discipline, break structure down further by element:
- Walls, doors, windows, and other architectural components on their own layers
- Dimensions and annotation separated from geometry layers, so they can be frozen independently
- Hatching and fills on dedicated layers, since these are often the first thing turned off for clarity
- Reference and underlay geometry (xrefs, survey data) clearly flagged as non-plotting
This separation matters most when a drawing is shared across a team. If dimensions live on the same layer as walls, someone trying to clean up annotation for a client set will end up hiding geometry they actually need.
Step 3: Use Layer States to Manage Complexity
Layer states let you save a specific combination of on/off, frozen/thawed, and locked/unlocked settings so you can restore it instantly instead of manually toggling dozens of layers every time you switch tasks. This is one of the most underused tools in AutoCAD, and it’s the single biggest time-saver on large drawings.
Typical layer states worth saving on a large project include:
- Design — everything visible for active drafting work
- Presentation — annotation-heavy, hatch-light view for client meetings
- Plot — only the layers that should appear on the printed or PDF sheet
- Coordination — all disciplines visible together for clash checking
Once saved, a layer state can be restored in seconds through the Layer States Manager, and it can be exported and imported into other drawings — which means one person’s carefully built state can become the standard for the whole team.
Applying Layer States Across Multiple Sheets
Save layer states at the drawing level, then bring them into new files through your template rather than rebuilding them sheet by sheet. Because layer states travel with the .dwg or can be exported as .las files, you only need to build the core set once per project type.
Step 4: Use Layer Filters to Cut Through Long Layer Lists
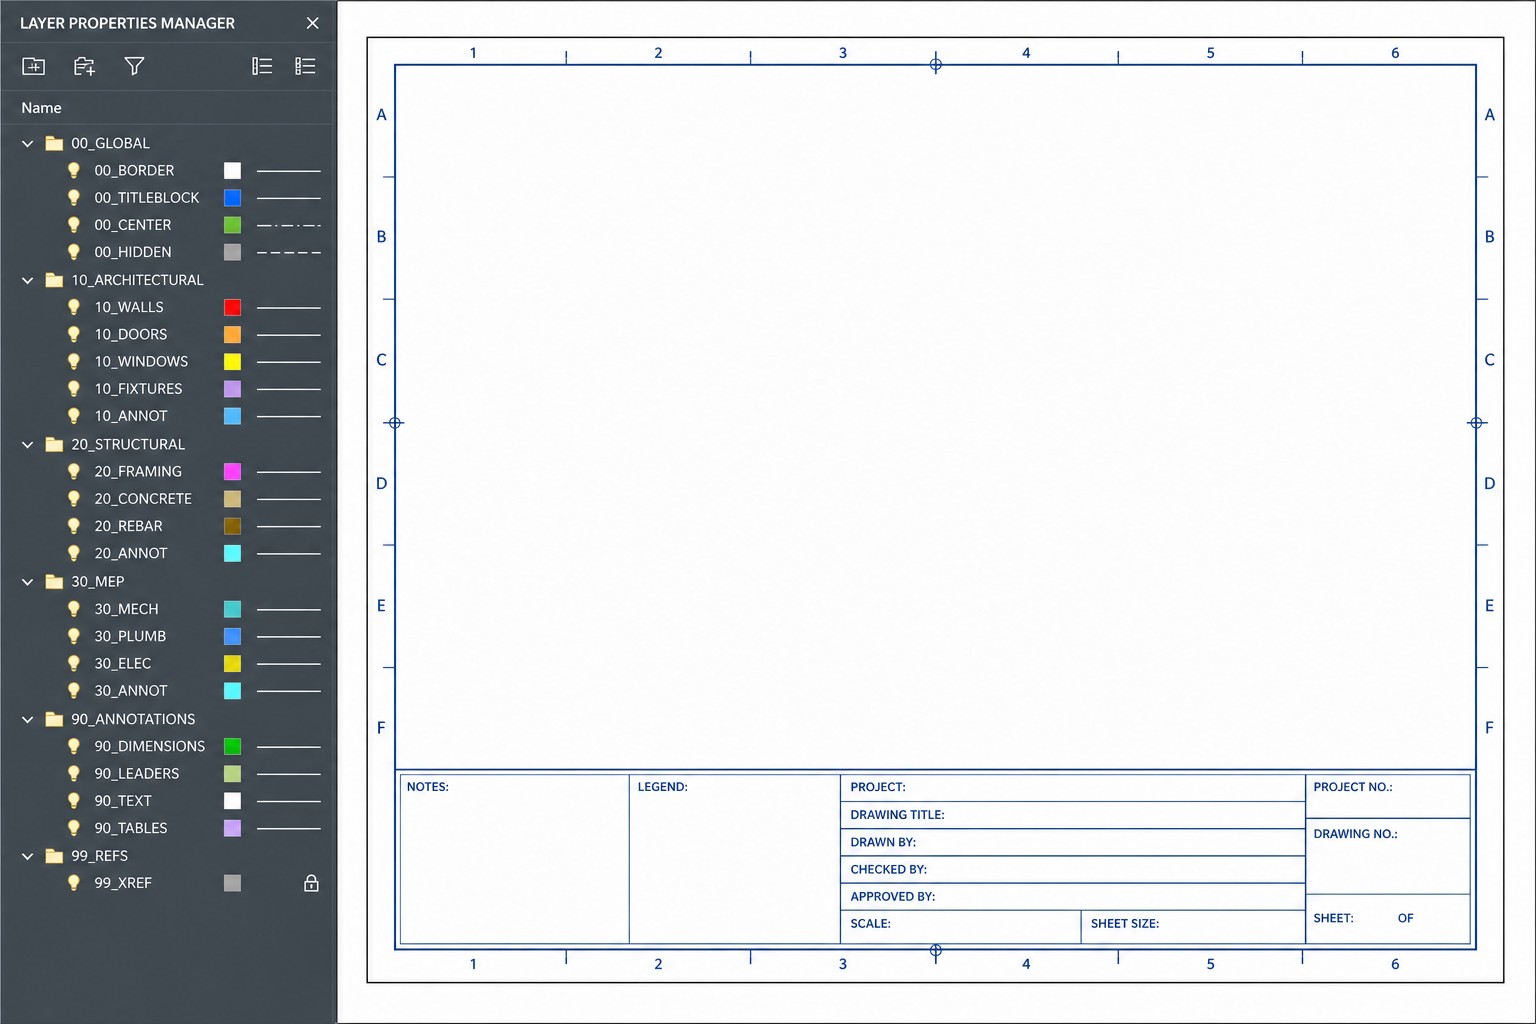
Layer filters group layers by name pattern, color, discipline, or other properties so you can work with a subset of layers instead of scrolling a list that might run to 200+ entries. On a project with dozens of disciplines and phases, filters turn the Layer Properties Manager from a wall of text into something actually usable.
Two filter types matter most:
- Layer Property Filters — automatically group layers matching a naming pattern, such as all layers starting with
A-, so architectural layers are always grouped together regardless of how many get added later - Layer Group Filters — manually curated groups for specific tasks, like “layers to freeze for structural coordination”
Because property filters are rule-based, they update automatically as new layers are created that match the naming convention — which is another reason a consistent naming system pays off long after the first few sheets are drawn.
Step 5: Standardize with Templates to Speed Up Repetitive Setup
Templates eliminate repetitive layer setup by giving every new drawing the full layer structure, naming convention, filters, and layer states already built in, so nobody starts from a blank Layer 0. This is the step that turns a good one-off layer structure into a company-wide standard.
A well-built .dwt template should include:
- The full discipline-based layer list with correct colors, linetypes, and lineweights already assigned
- Pre-saved layer filters matching your naming convention
- Common layer states (Design, Plot, Presentation) ready to restore
- Title block and plot styles matched to your standard sheet sizes
Once the template exists, starting a new drawing takes seconds instead of the twenty or thirty minutes it takes to rebuild layers by hand — and every drawing in the office inherits the same structure automatically, which is the real payoff of consistent AutoCAD layer management across a growing project list.
Step 6: Audit and Maintain the Layer Structure Regularly
Run a layer audit at key project milestones, not just at the end, because unused and duplicate layers accumulate quietly as a drawing changes hands between team members. The PURGE command removes layers with no objects on them, and the LAYWALK or -LAYER commands help identify layers that look similar but shouldn’t both exist.
A simple maintenance routine:
- Purge unused layers before every major submission
- Check for near-duplicate names (a common sign someone bypassed the standard)
- Confirm layer 0 isn’t being used for real geometry
- Re-export updated layer states if the project’s phasing has changed
This routine takes minutes and prevents the slow drift that turns a clean layer structure into a mess over the course of a year-long project.
Getting the Most Out of AutoCAD for Layer-Heavy Projects
None of this workflow requires anything beyond what’s already built into AutoCAD — it’s a matter of applying the tools consistently rather than needing extra software. If your firm is still working from an older release or evaluating licensing options, it’s worth comparing the Autodesk AutoCAD 2025 – 1 Year license against a longer 3-Year AutoCAD 2025 license, since the Layer Properties Manager, Layer States Manager, and layer filter tools described above are consistent across recent versions.
For teams already comfortable with layer states and filters, the next logical step is automating the repetitive parts of setup entirely — something covered in more detail in our guide to automating drafting tasks with AutoCAD macros and scripts.
FAQ
How do I download AutoCAD to set up layer templates?
AutoCAD is downloaded directly through Autodesk’s official installer after you have a valid activation key. Once you purchase a license, you receive a download link along with your activation key by email, and the installer walks you through setup on Windows or Mac.
How do I install AutoCAD before building a layer standard?
Run the Autodesk installer, sign in with your Autodesk account, and select the AutoCAD version matching your license. Installation typically takes 15-30 minutes depending on your connection and system, after which you can immediately begin building your layer templates and standards.
How do I activate AutoCAD after installation?
Open AutoCAD, sign in with the Autodesk account linked to your license, and the software activates automatically if you purchased a subscription-based key. If prompted for a serial number or product key, enter the details provided at the time of purchase.
What is the best layer naming convention for AutoCAD?
There’s no single mandatory convention, but most firms base theirs on discipline, major group, and status — similar to the U.S. National CAD Standard format. The important part isn’t which exact system you choose, it’s that everyone on the project uses it consistently.
Can I copy layer states between AutoCAD drawings?
Yes. Layer states can be exported as .las files from one drawing and imported into another through the Layer States Manager, which is exactly how firms roll out a standard layer setup across an entire project without rebuilding it in every file.
How many layers should a large AutoCAD project have?
There’s no fixed number — it depends on discipline count and project complexity — but the goal is fewer, well-named layers rather than dozens of overlapping ones. If you’re regularly unsure which layer to use, that’s usually a sign the structure needs simplifying, not expanding.
Do layer filters slow down AutoCAD on large drawings?
No, layer filters are lightweight and actually improve workflow speed by reducing how much of the Layer Properties Manager you need to scroll through. They don’t affect drawing performance since they’re just a display and selection convenience layered on top of your existing layer list.
